

Rebuild Spotlight: Cody Nilsen’s Teisco Shark Fin ET-230
A personal favorite rebuild of one of my favorite catalog guitars of all time: the Teisco Shark Fin. This one was custom ordered by Cody Nilsen of GA-20, a longtime buddy and LG supporter and the same “Coco” that my Cococaster tele pickups are named after. Cody is a man of exquisite taste, let’s get into it!
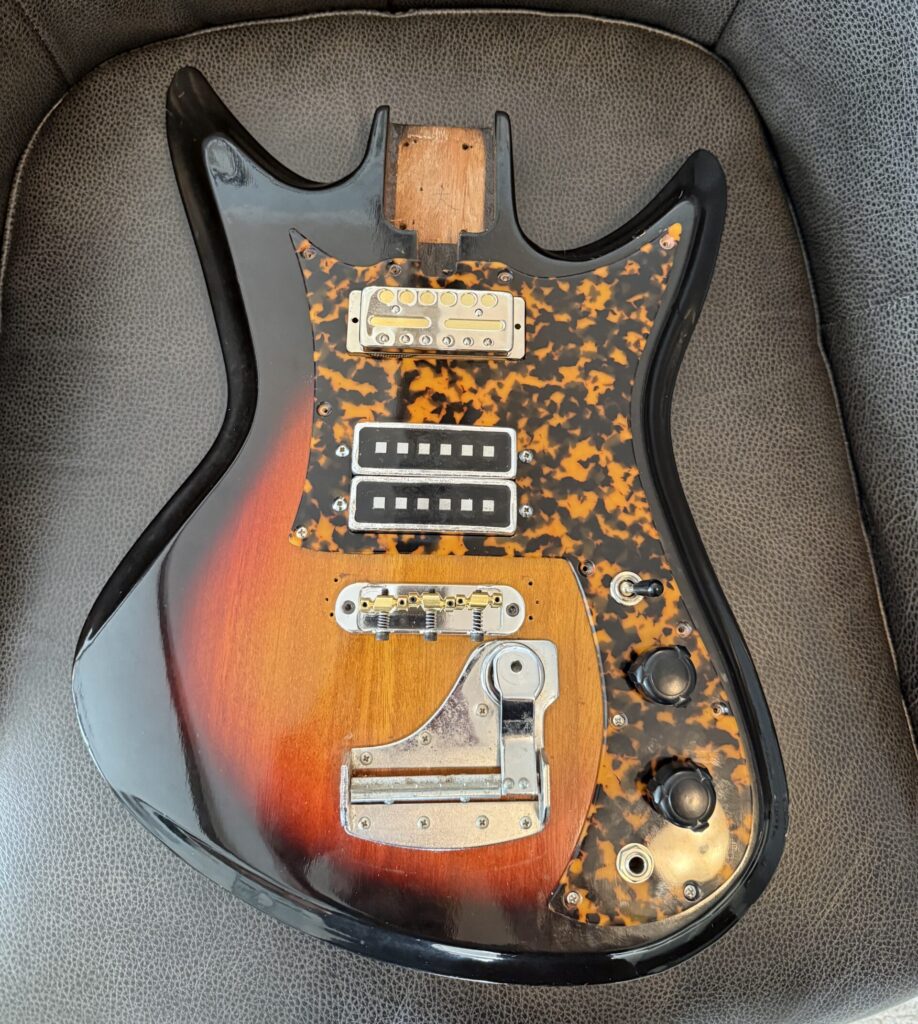
For the uninitiated, these guitars are super cool. You could say that is my opinion, but David Lindley played one, so it is actually a fact. They feature lightweight “mahogany” bodies and necks (probably Phillipine mahogany aka Meranti), rosewood fretboards, comfy curves, and available with 2 (ET-230), 3 (ET-312), or 4 (ET-460) Teisco single coil pickups with square steel poles that sound killer. This one start life as an ET-230:
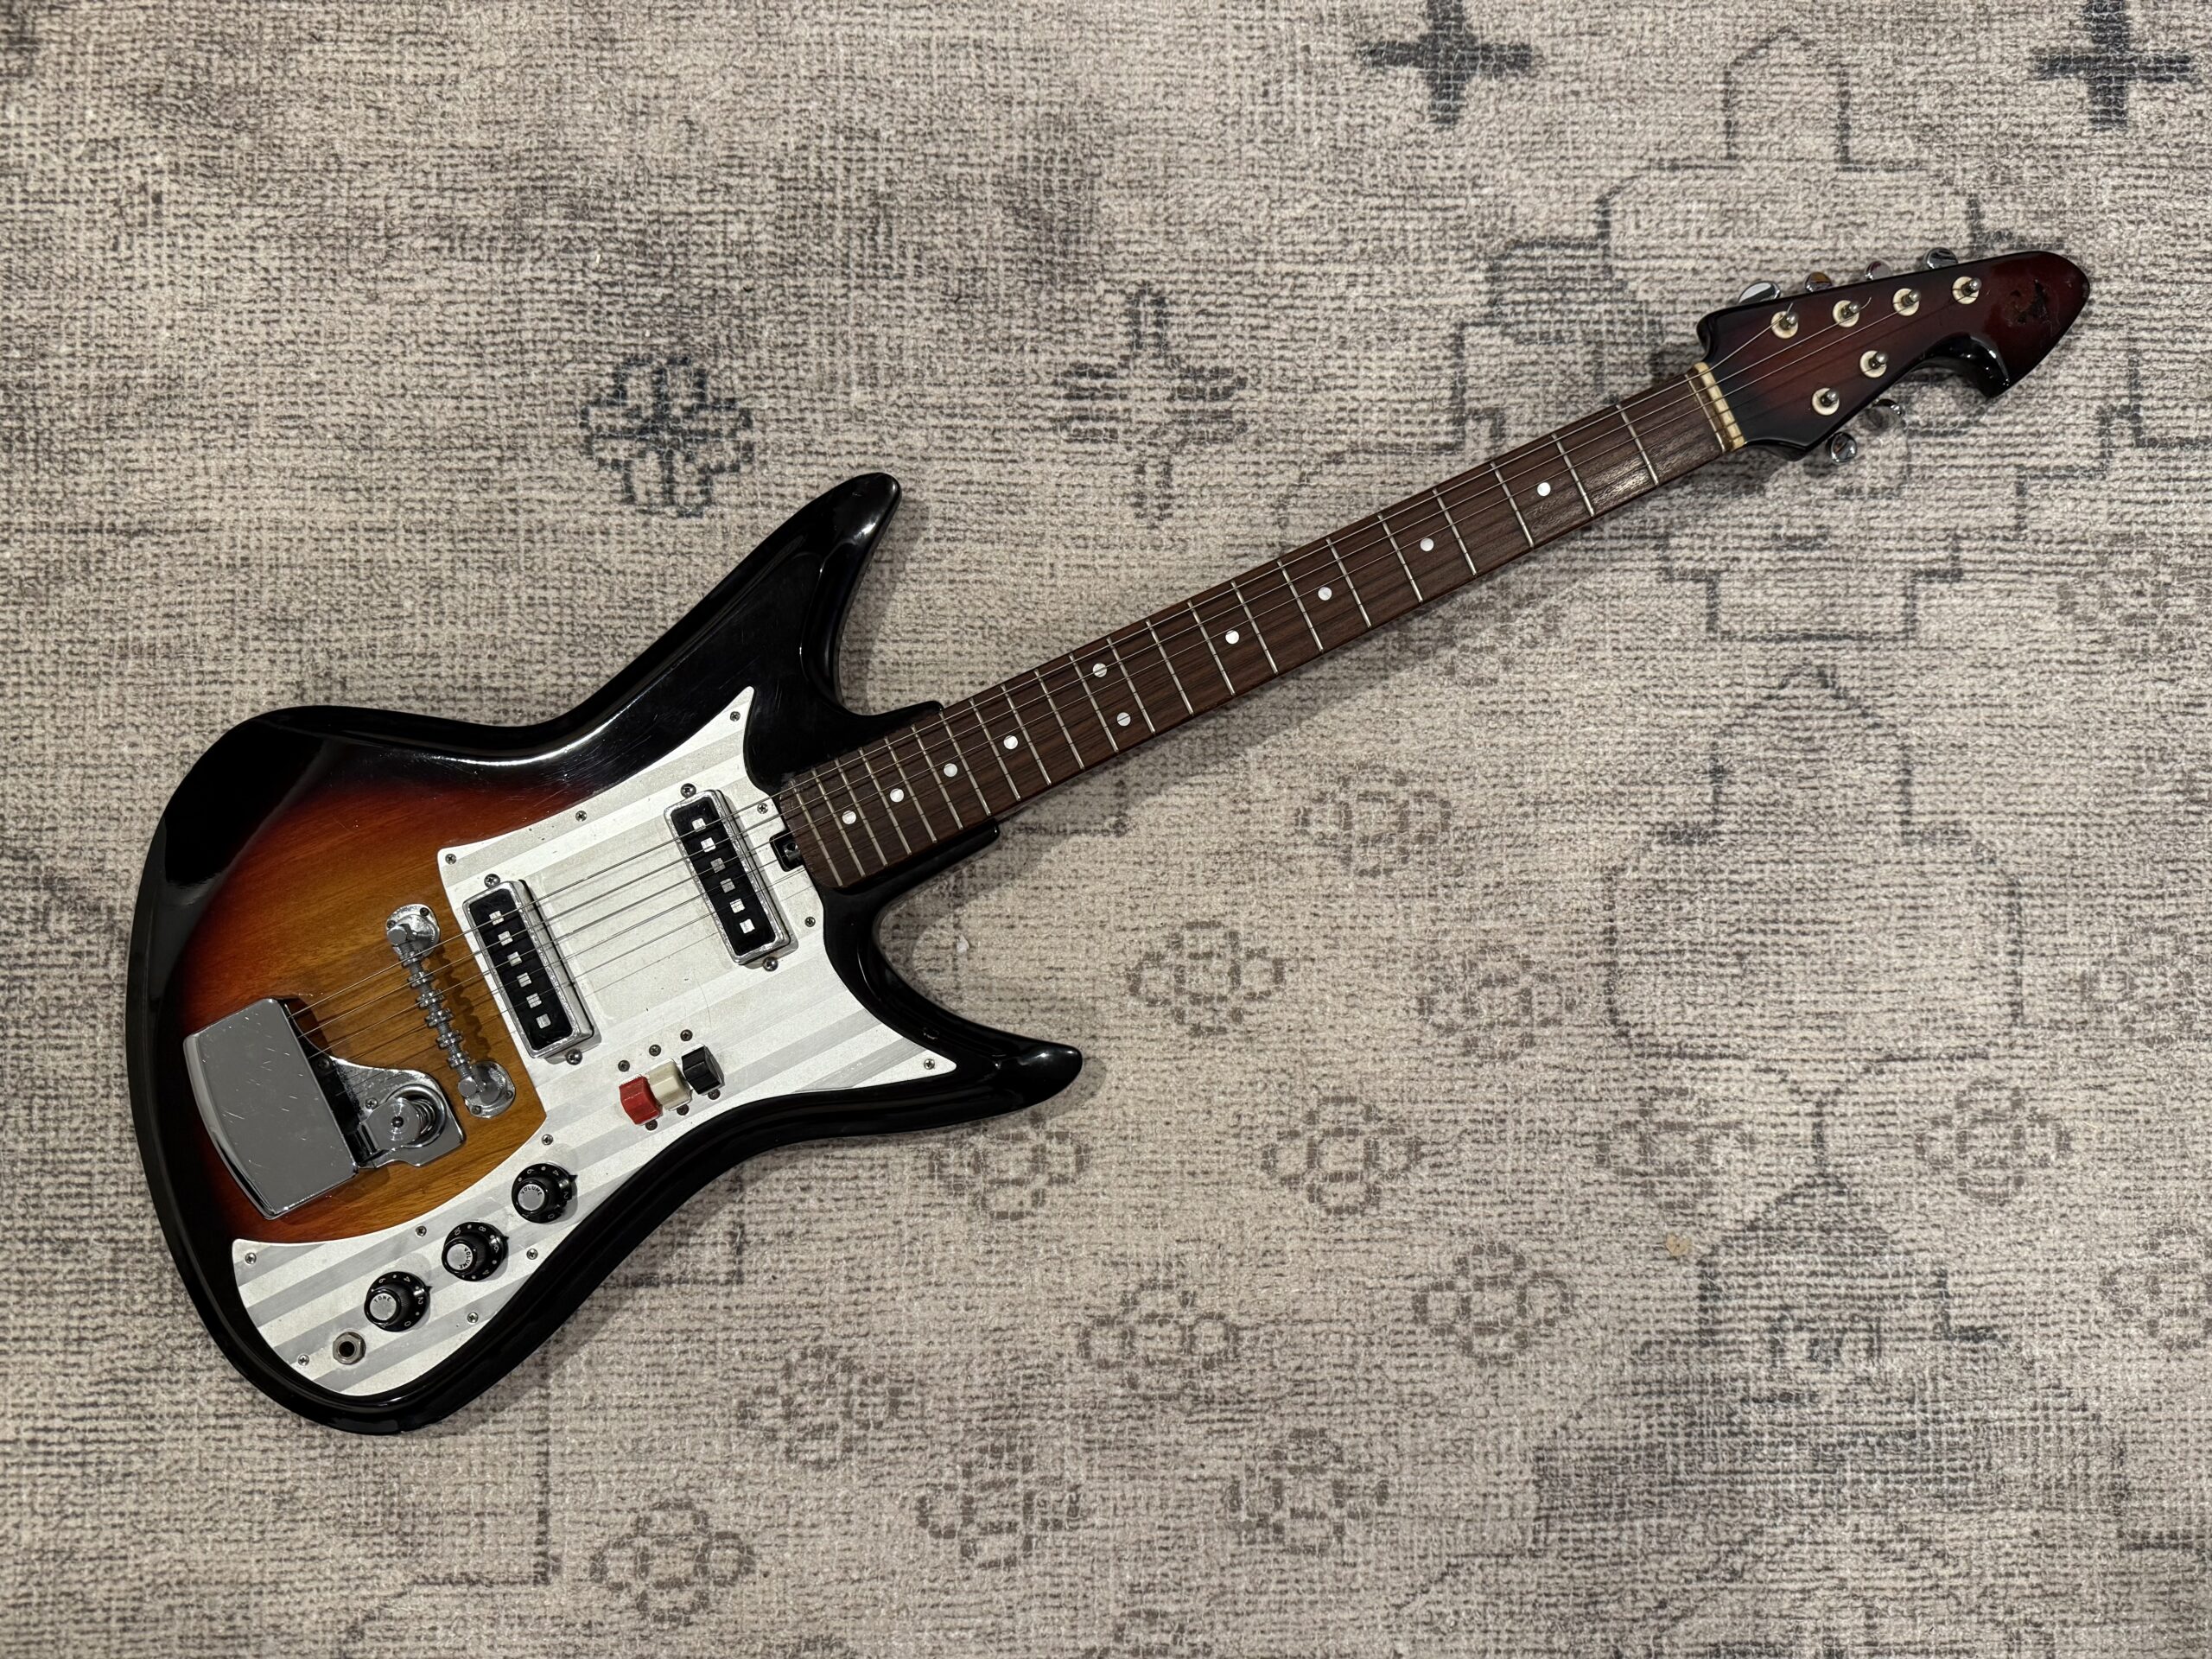
Nothing wrong with that, but certainly some room for improvement, most notably the frets, bridge, and nut. Fortunately, to quote Dutch Van Der Linde, “I have a plan.”
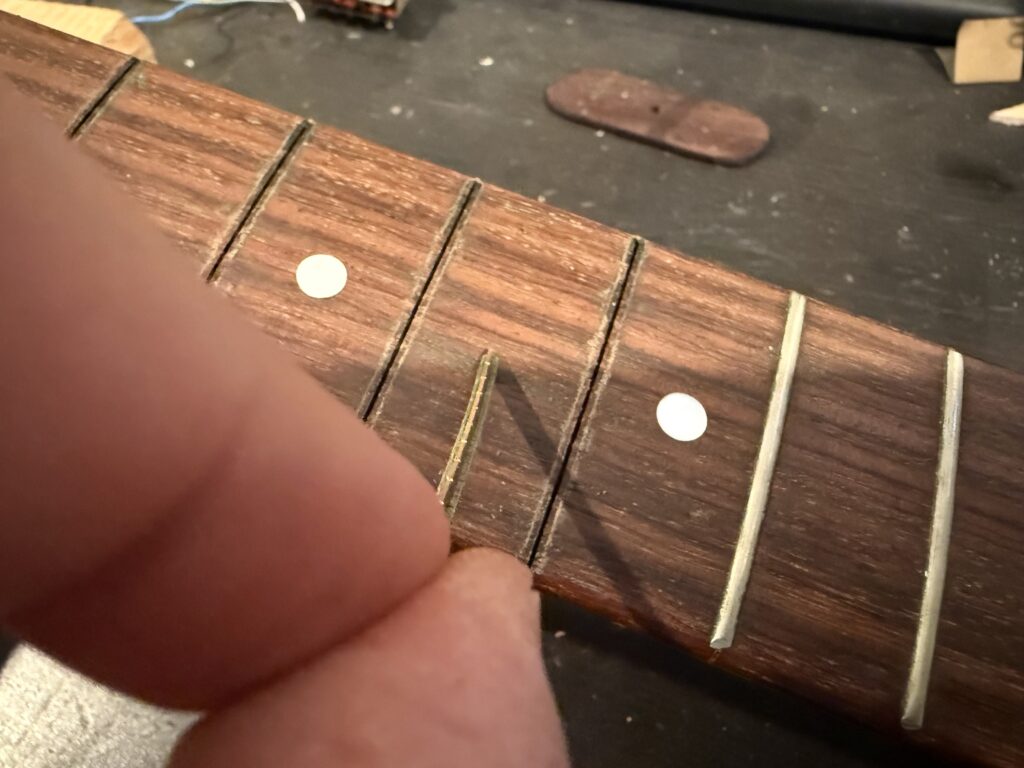
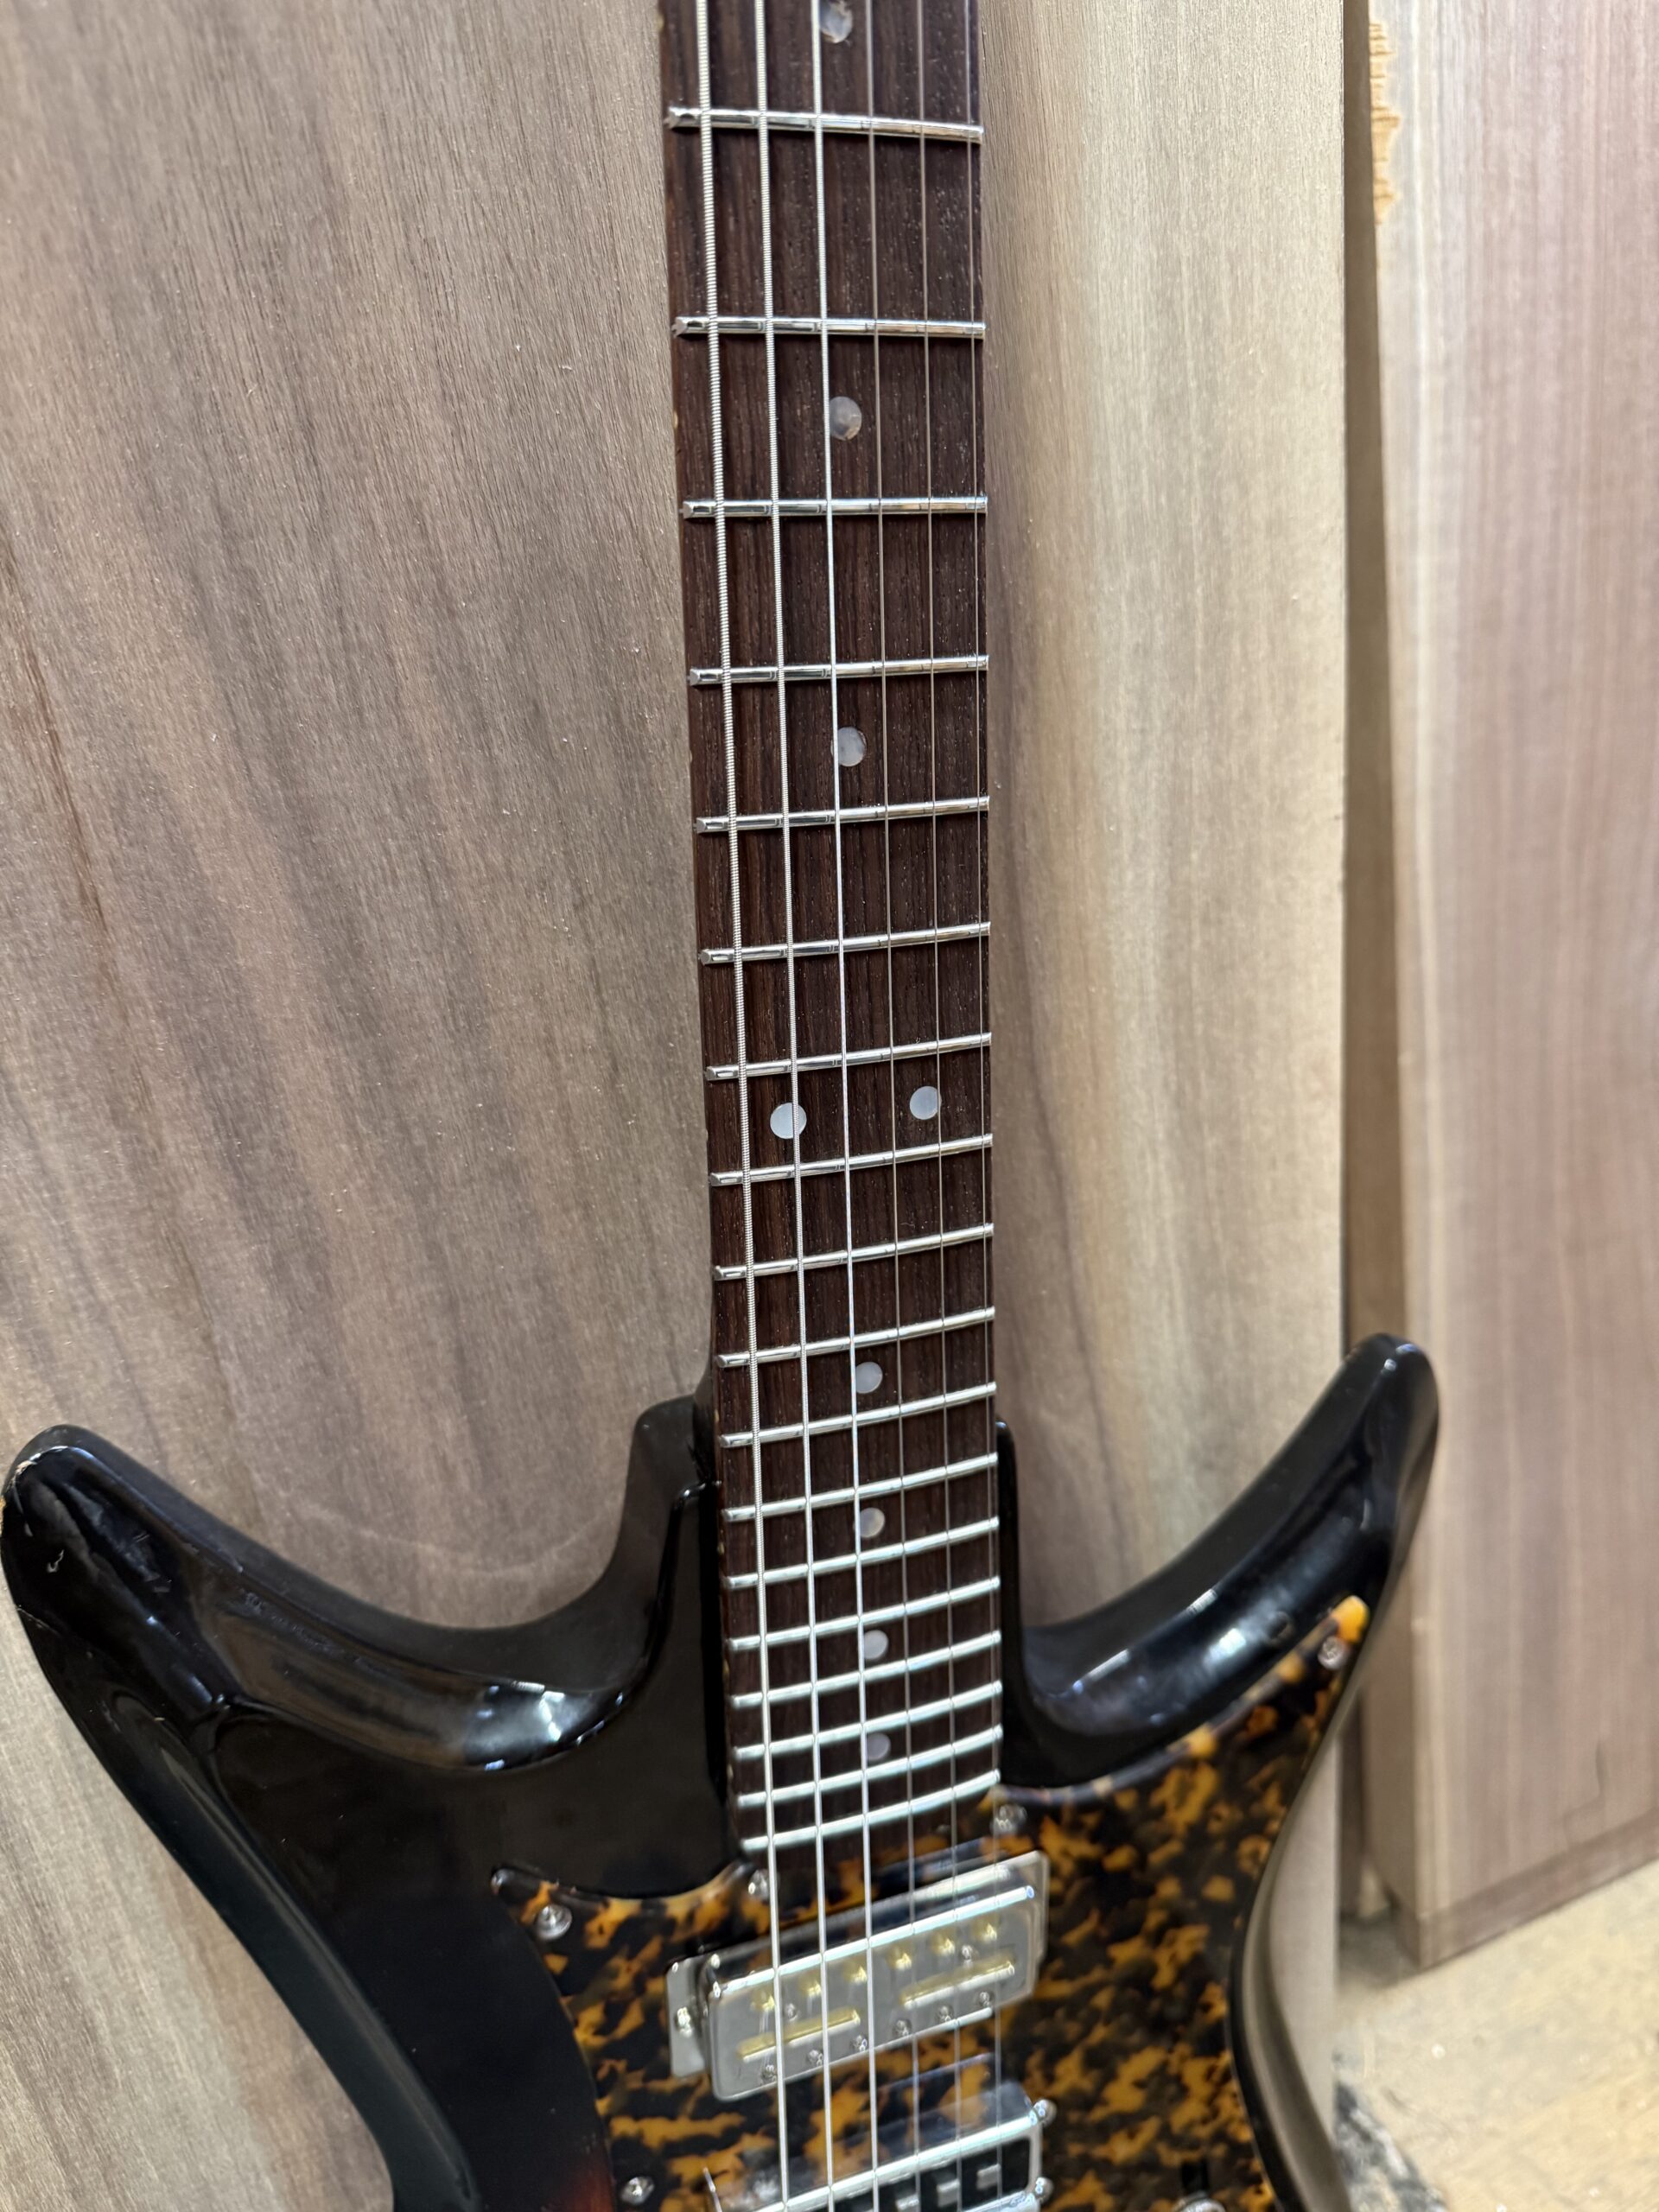
First up, refretting the neck with stainless steel Jescar 55090 wire, my go-to and standard wire for all Lord Guitars. This starts with pulling the frets and planing the fretboard to a perfect 9.5″ radius. Pulling the frets is the easiest step, they were installed by beavers and held in by hope:
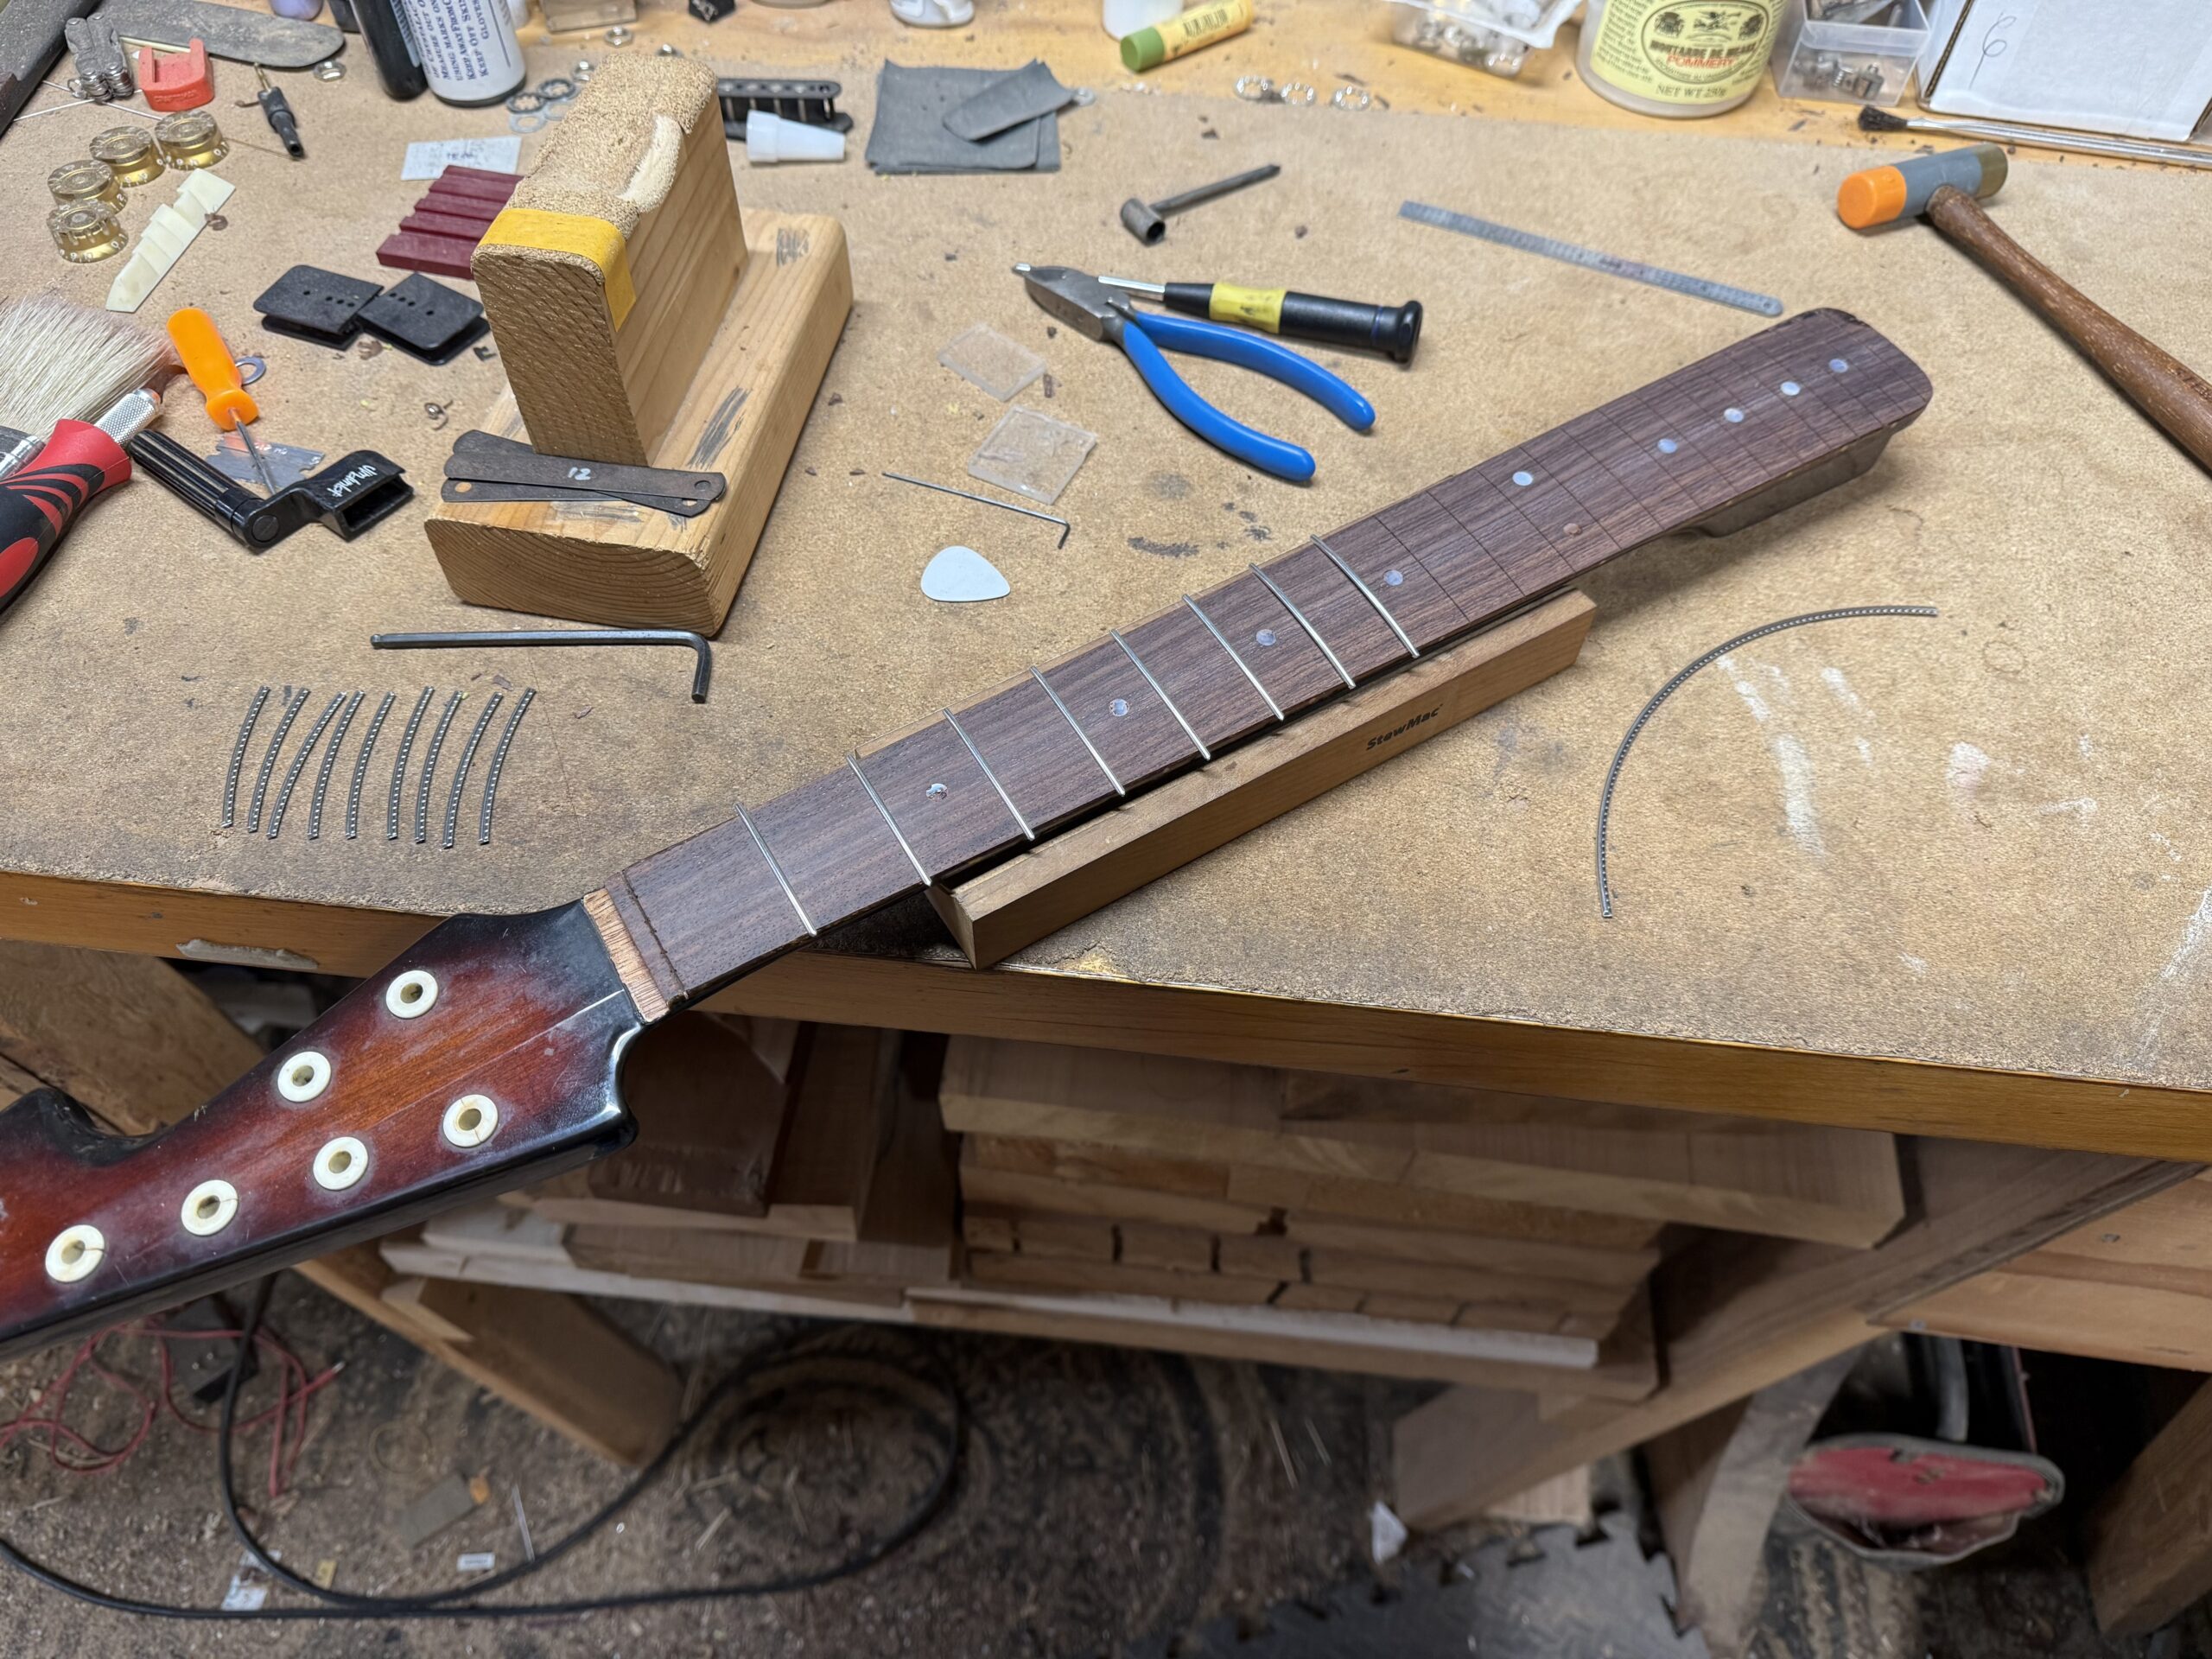
Here the neck has been sanded and is midway through fret installation:
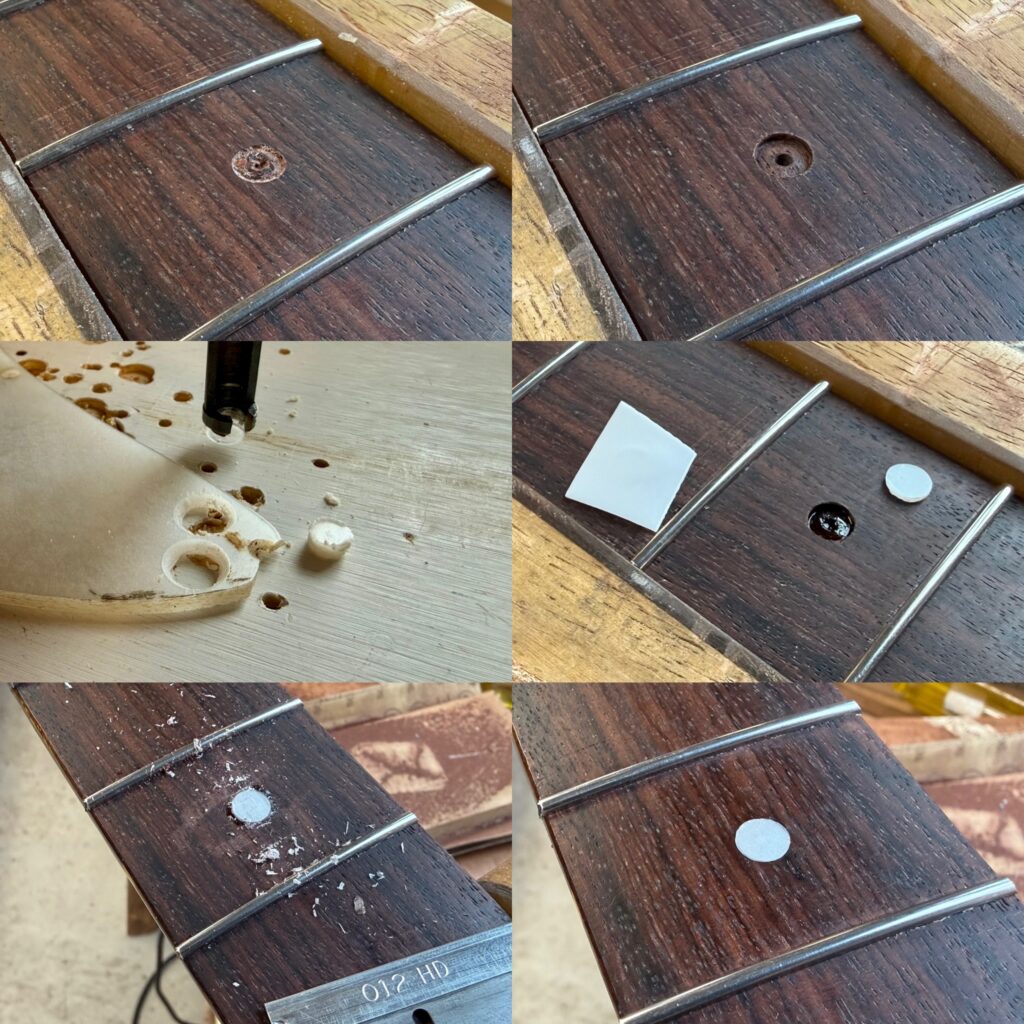
A few of the fretboard dots were nearly toast, so I made new ones from an old Zen-on/Audition pickguard and replaced them. Normally I would do this before installing the frets, but I was on a roll.
Level, crown, polish, and oil the board and the fret work is done:
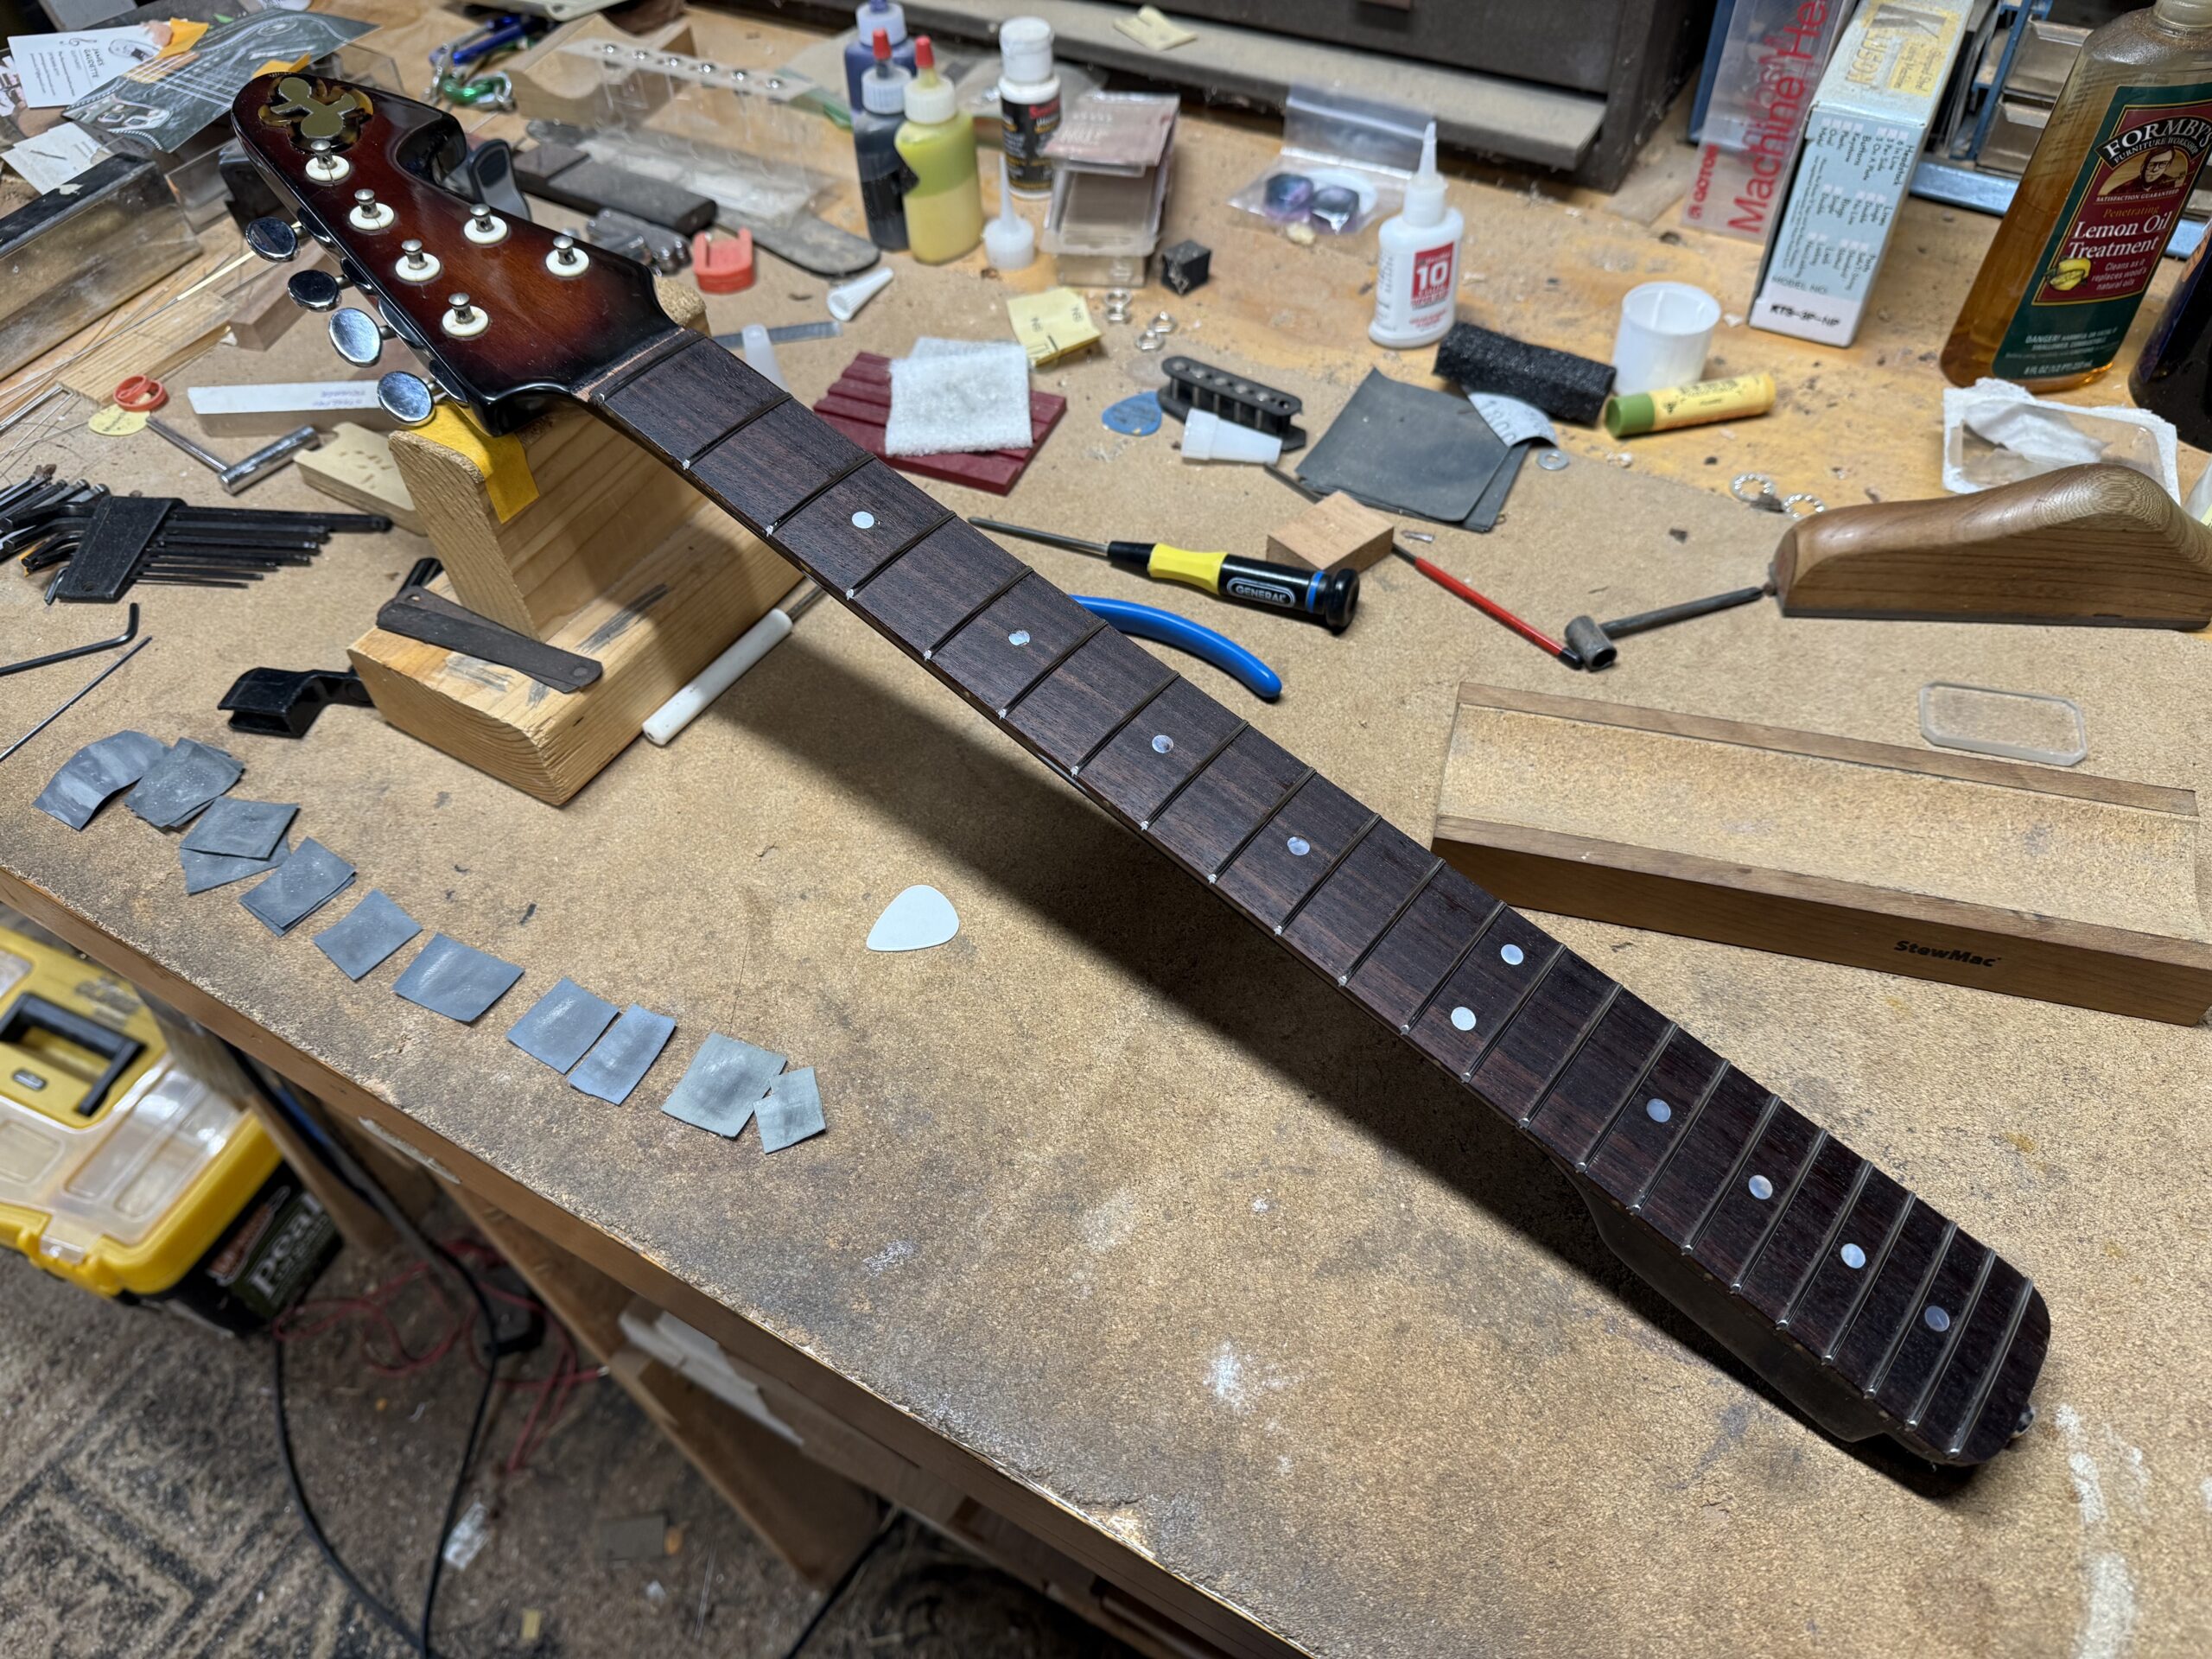
I love how much the old rosewood darkens up with a hit of oil! So good. You can also see the little micro mesh pieces from the final polishing process. 1500 through 12000 grit.
Next up, we replaced the original aluminum pickguard with a handmade tortoiseshell pickguard. I cut this using the original pickguard as a router template; the thick aluminum pickguard is perfect for this.
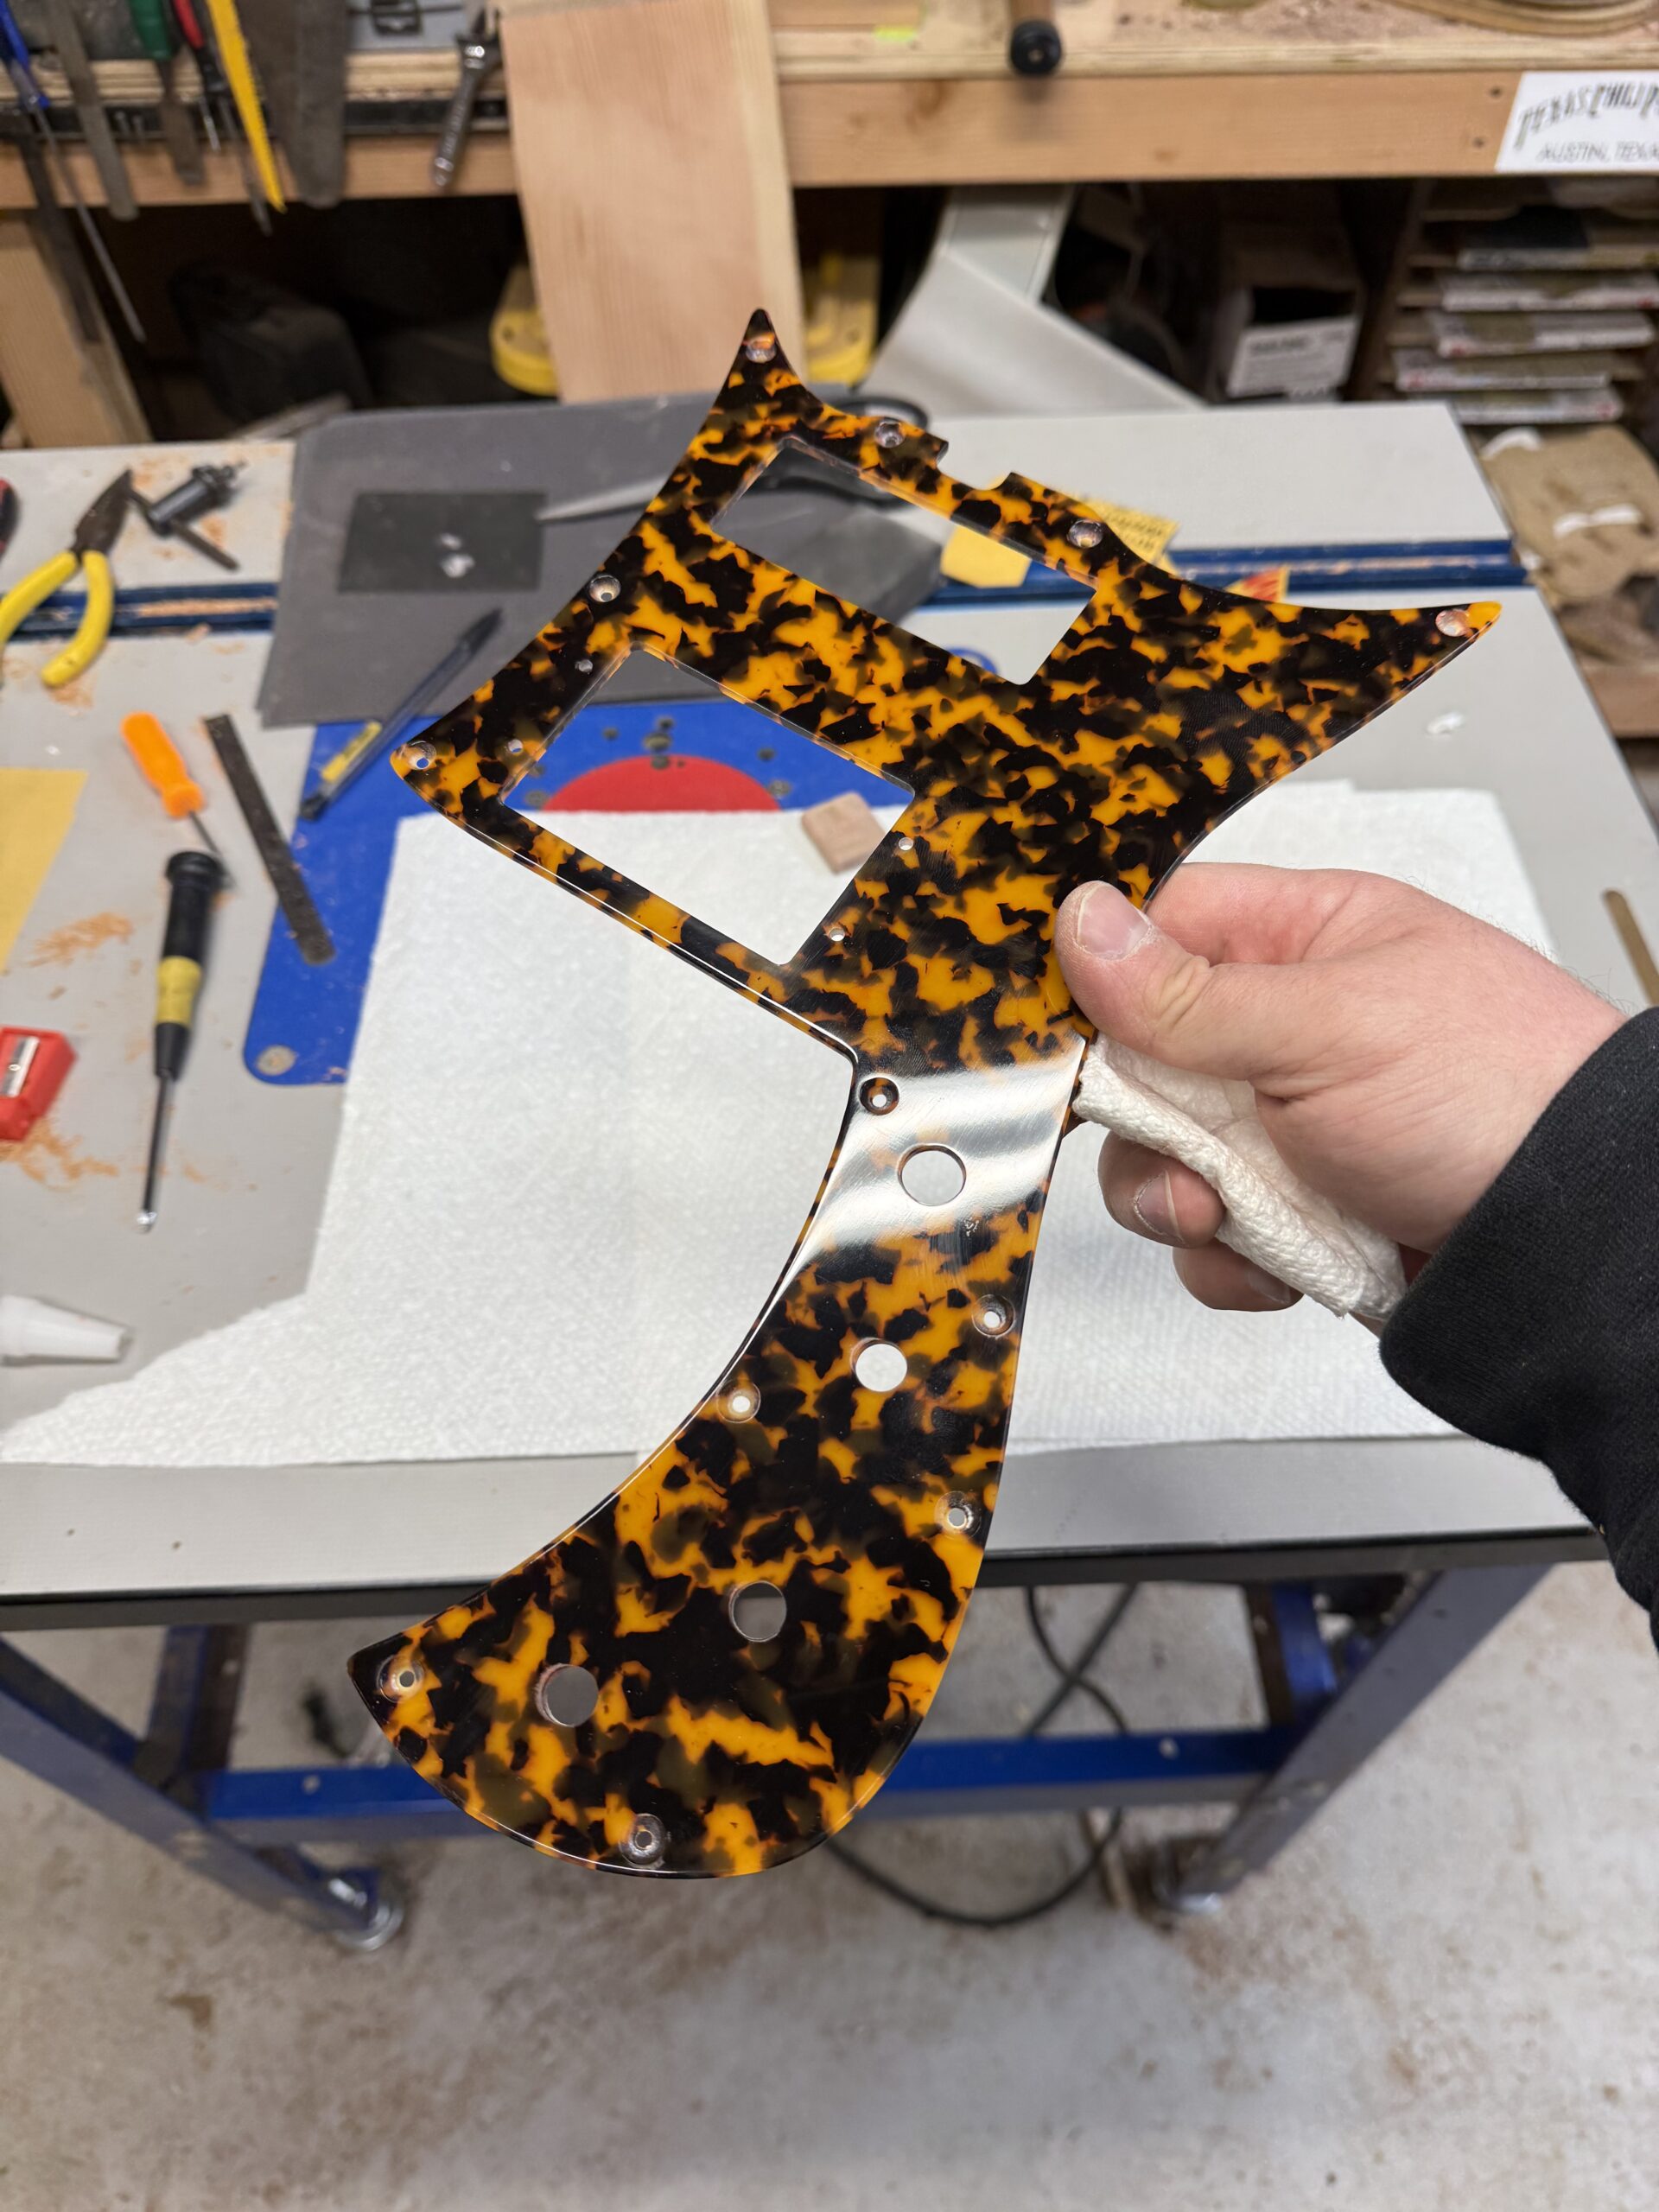
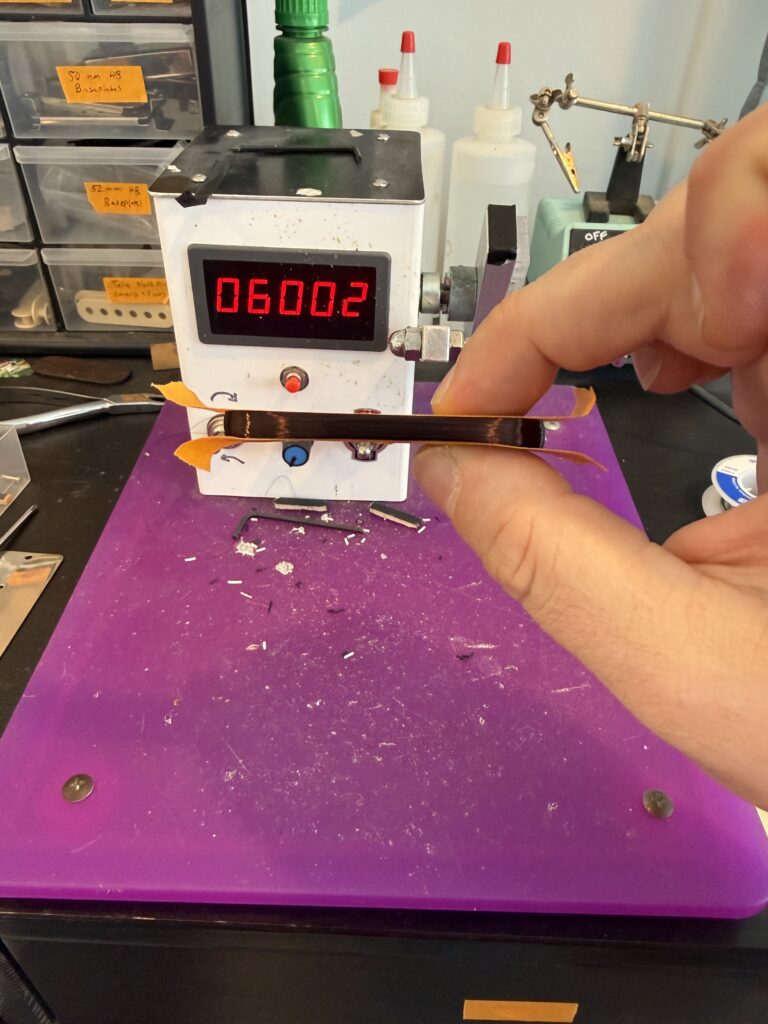
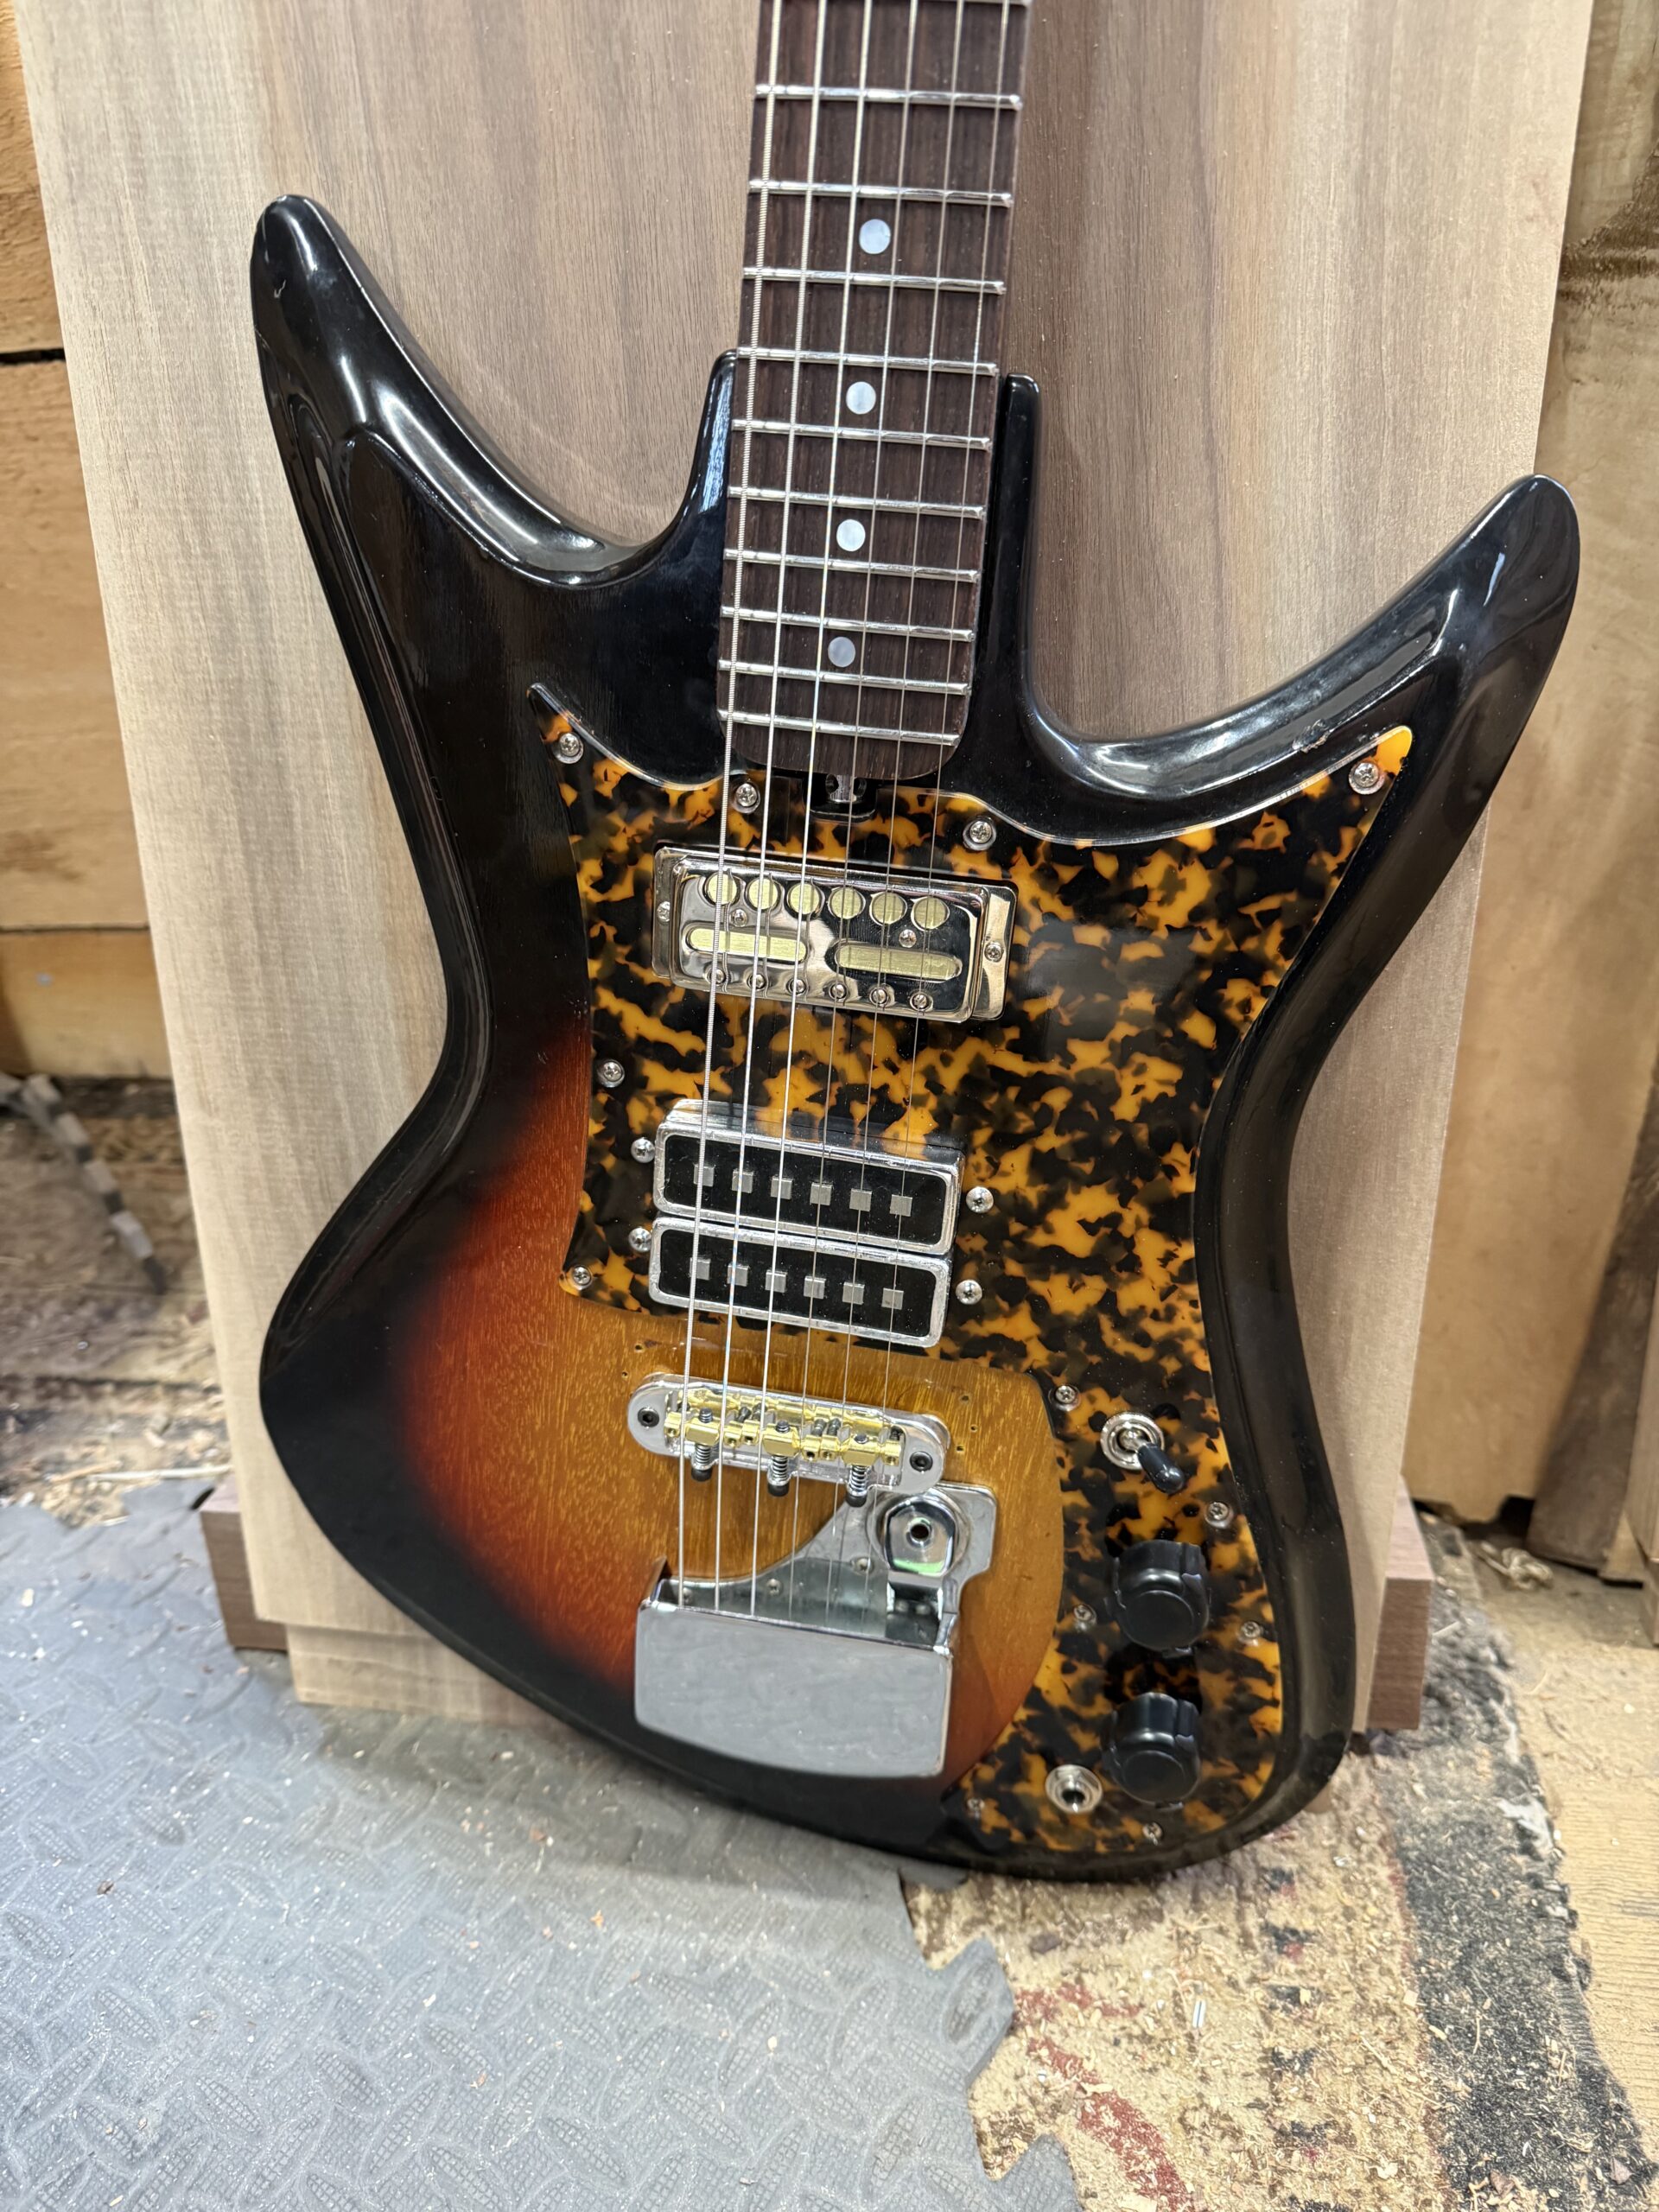
We’re turning this ET-230 into an LG-312, so to speak. What I’m trying to say is that it will have three pickups instead of two. Cody and I both love the original square pole pickups, so we decided to use them both in the bridge position, wired as a splittable humbucker. For the neck we went with one of my Goldfoil pickups. I wind these with reproduction covers and original (salvaged) Teisco magnets. I do not add bobbins to the magnets, they are wound and wrapped in tape like the originals:
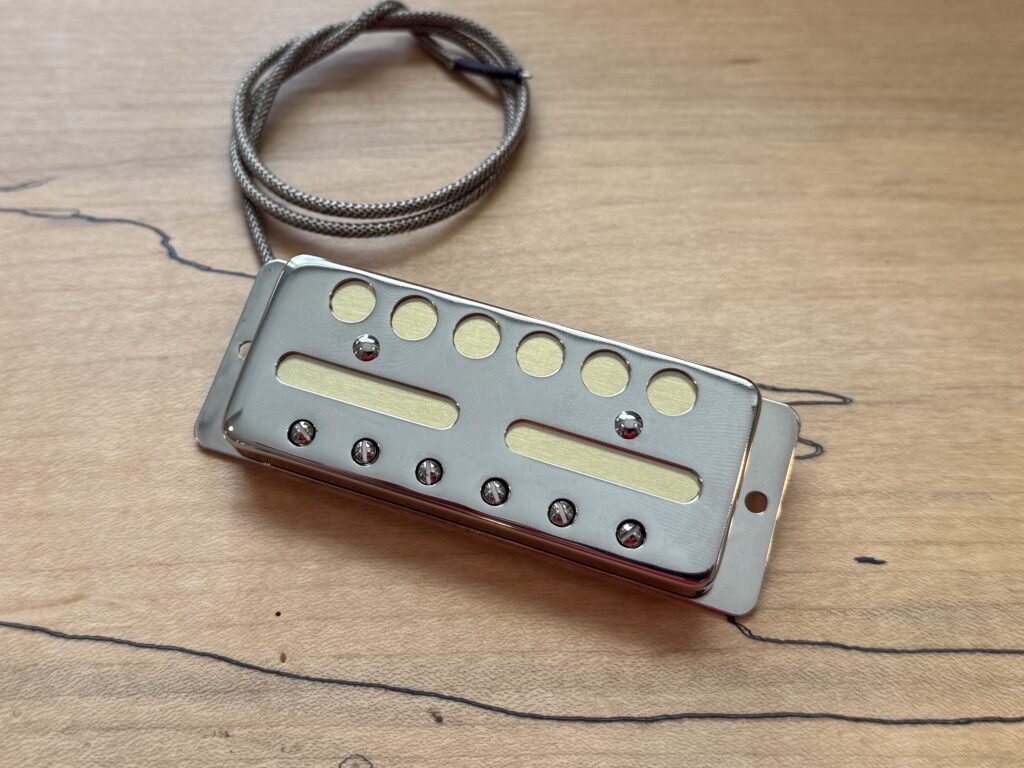
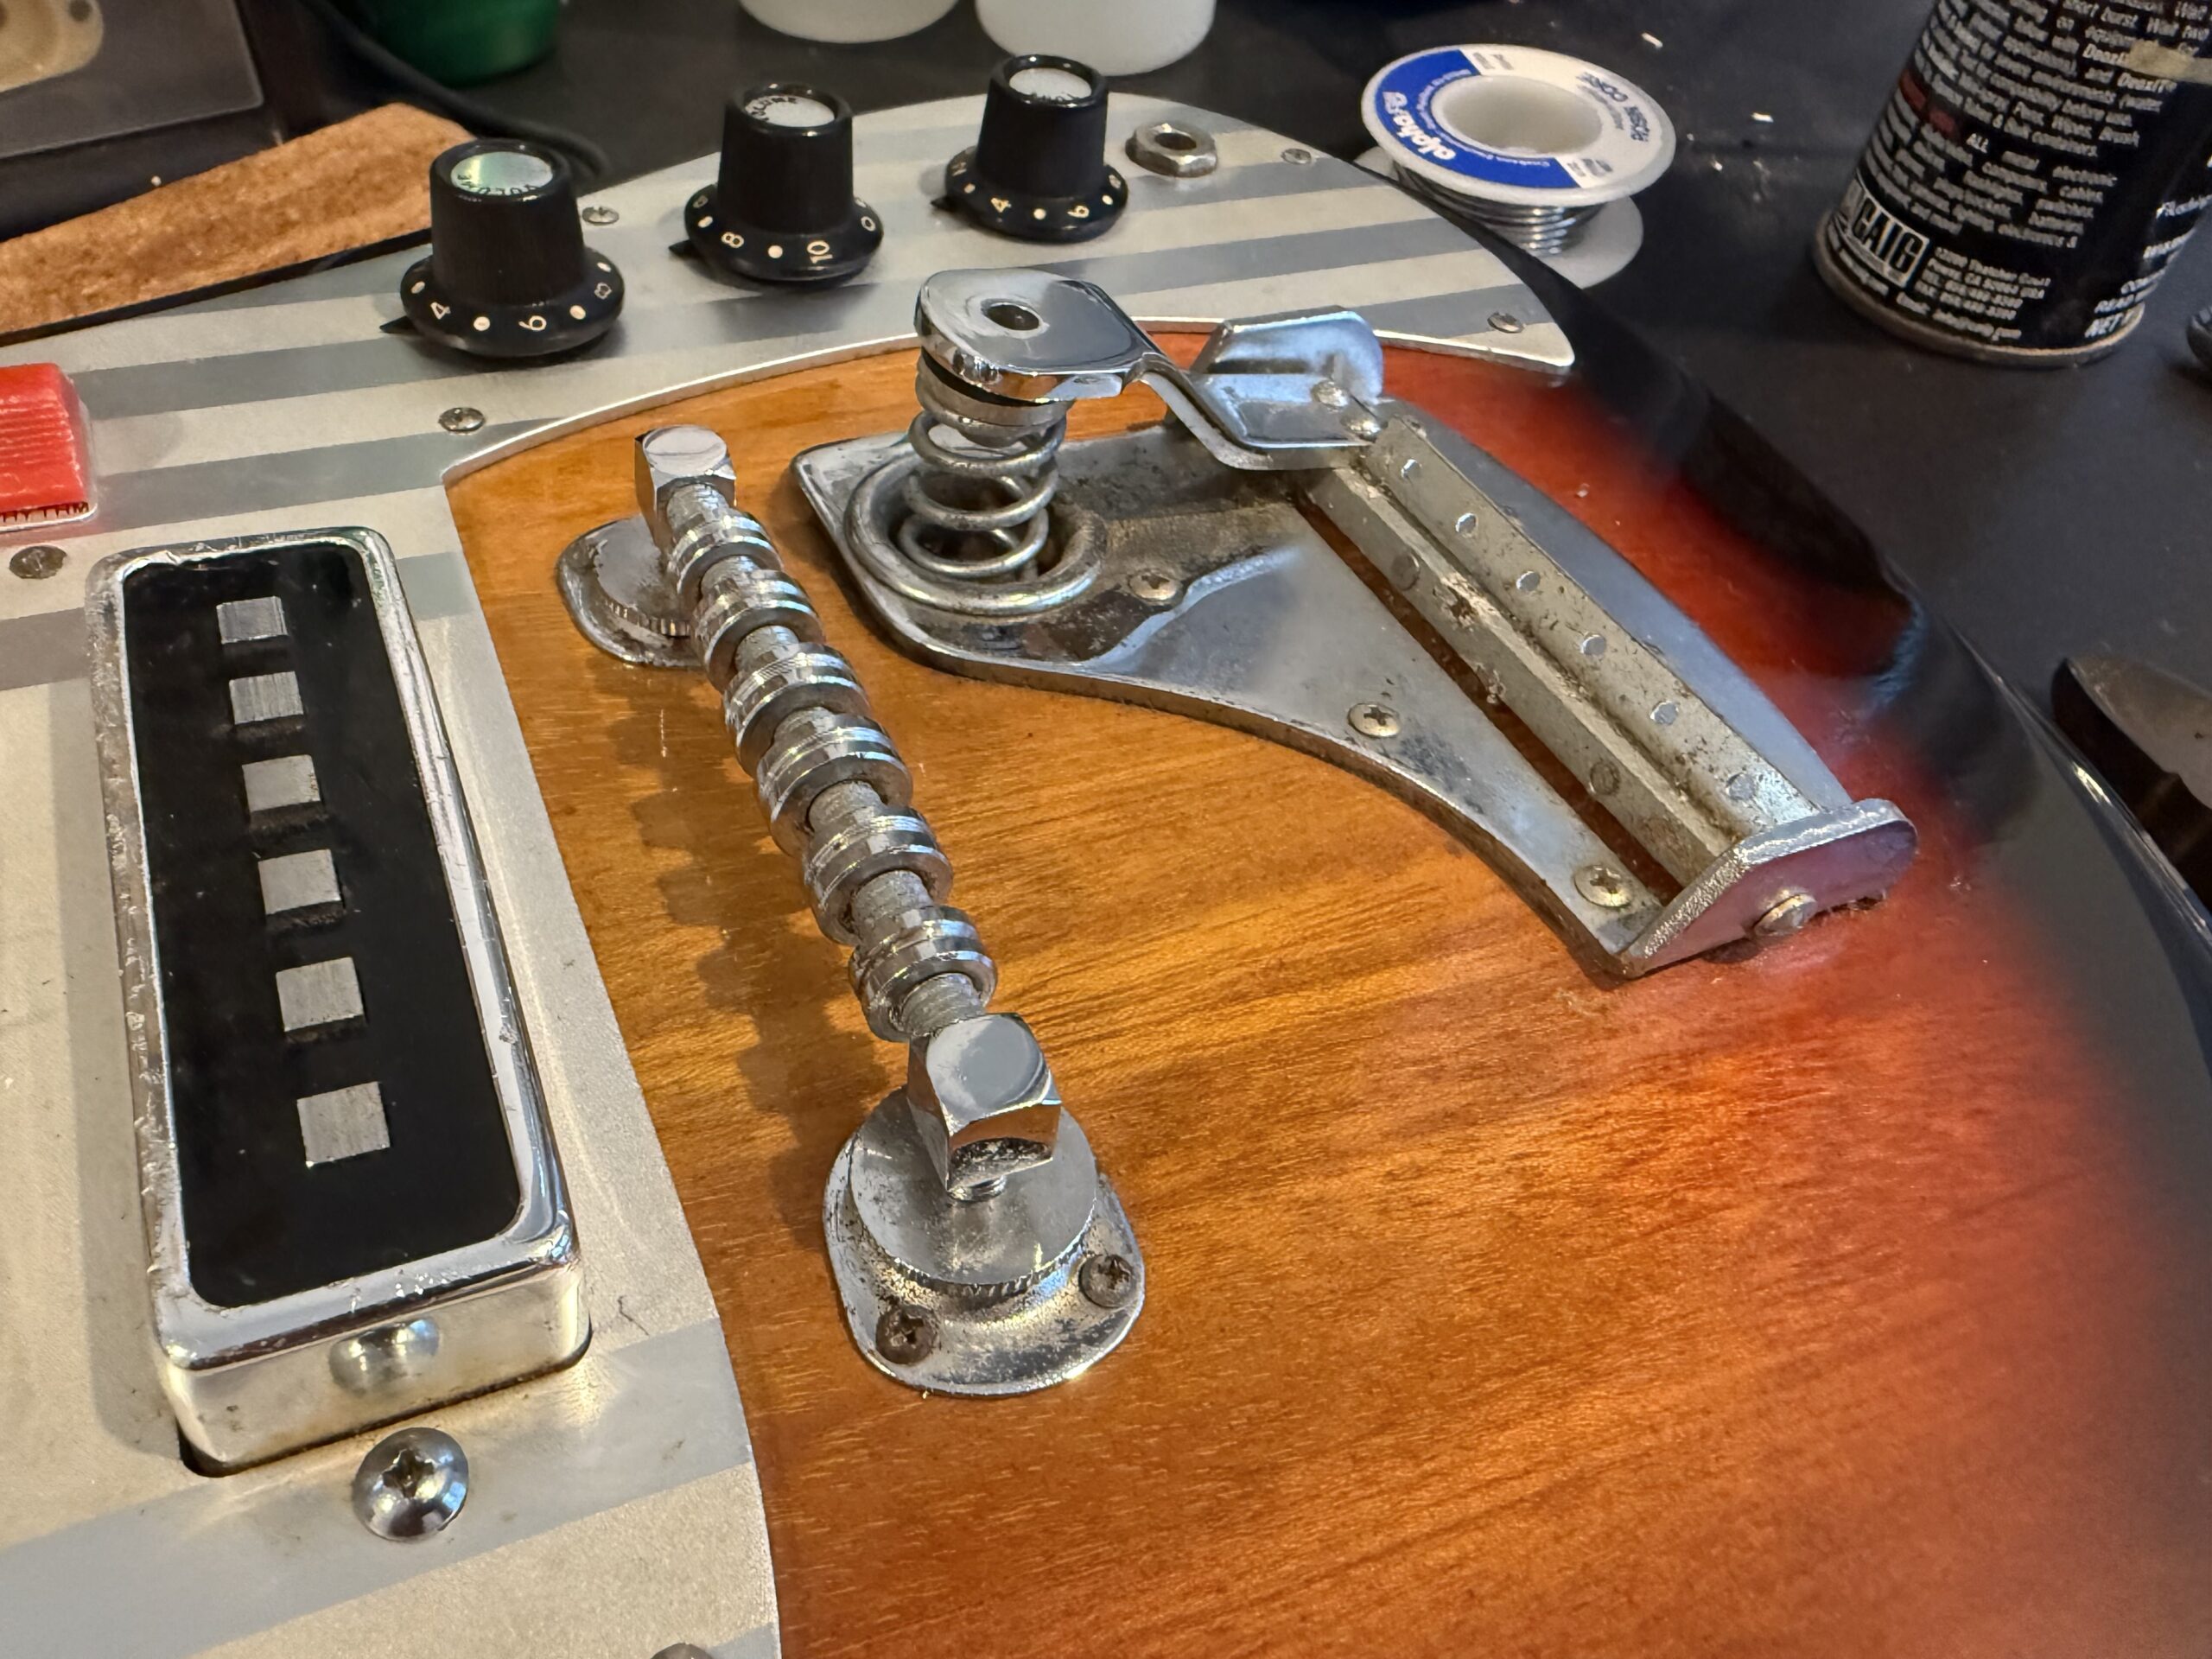
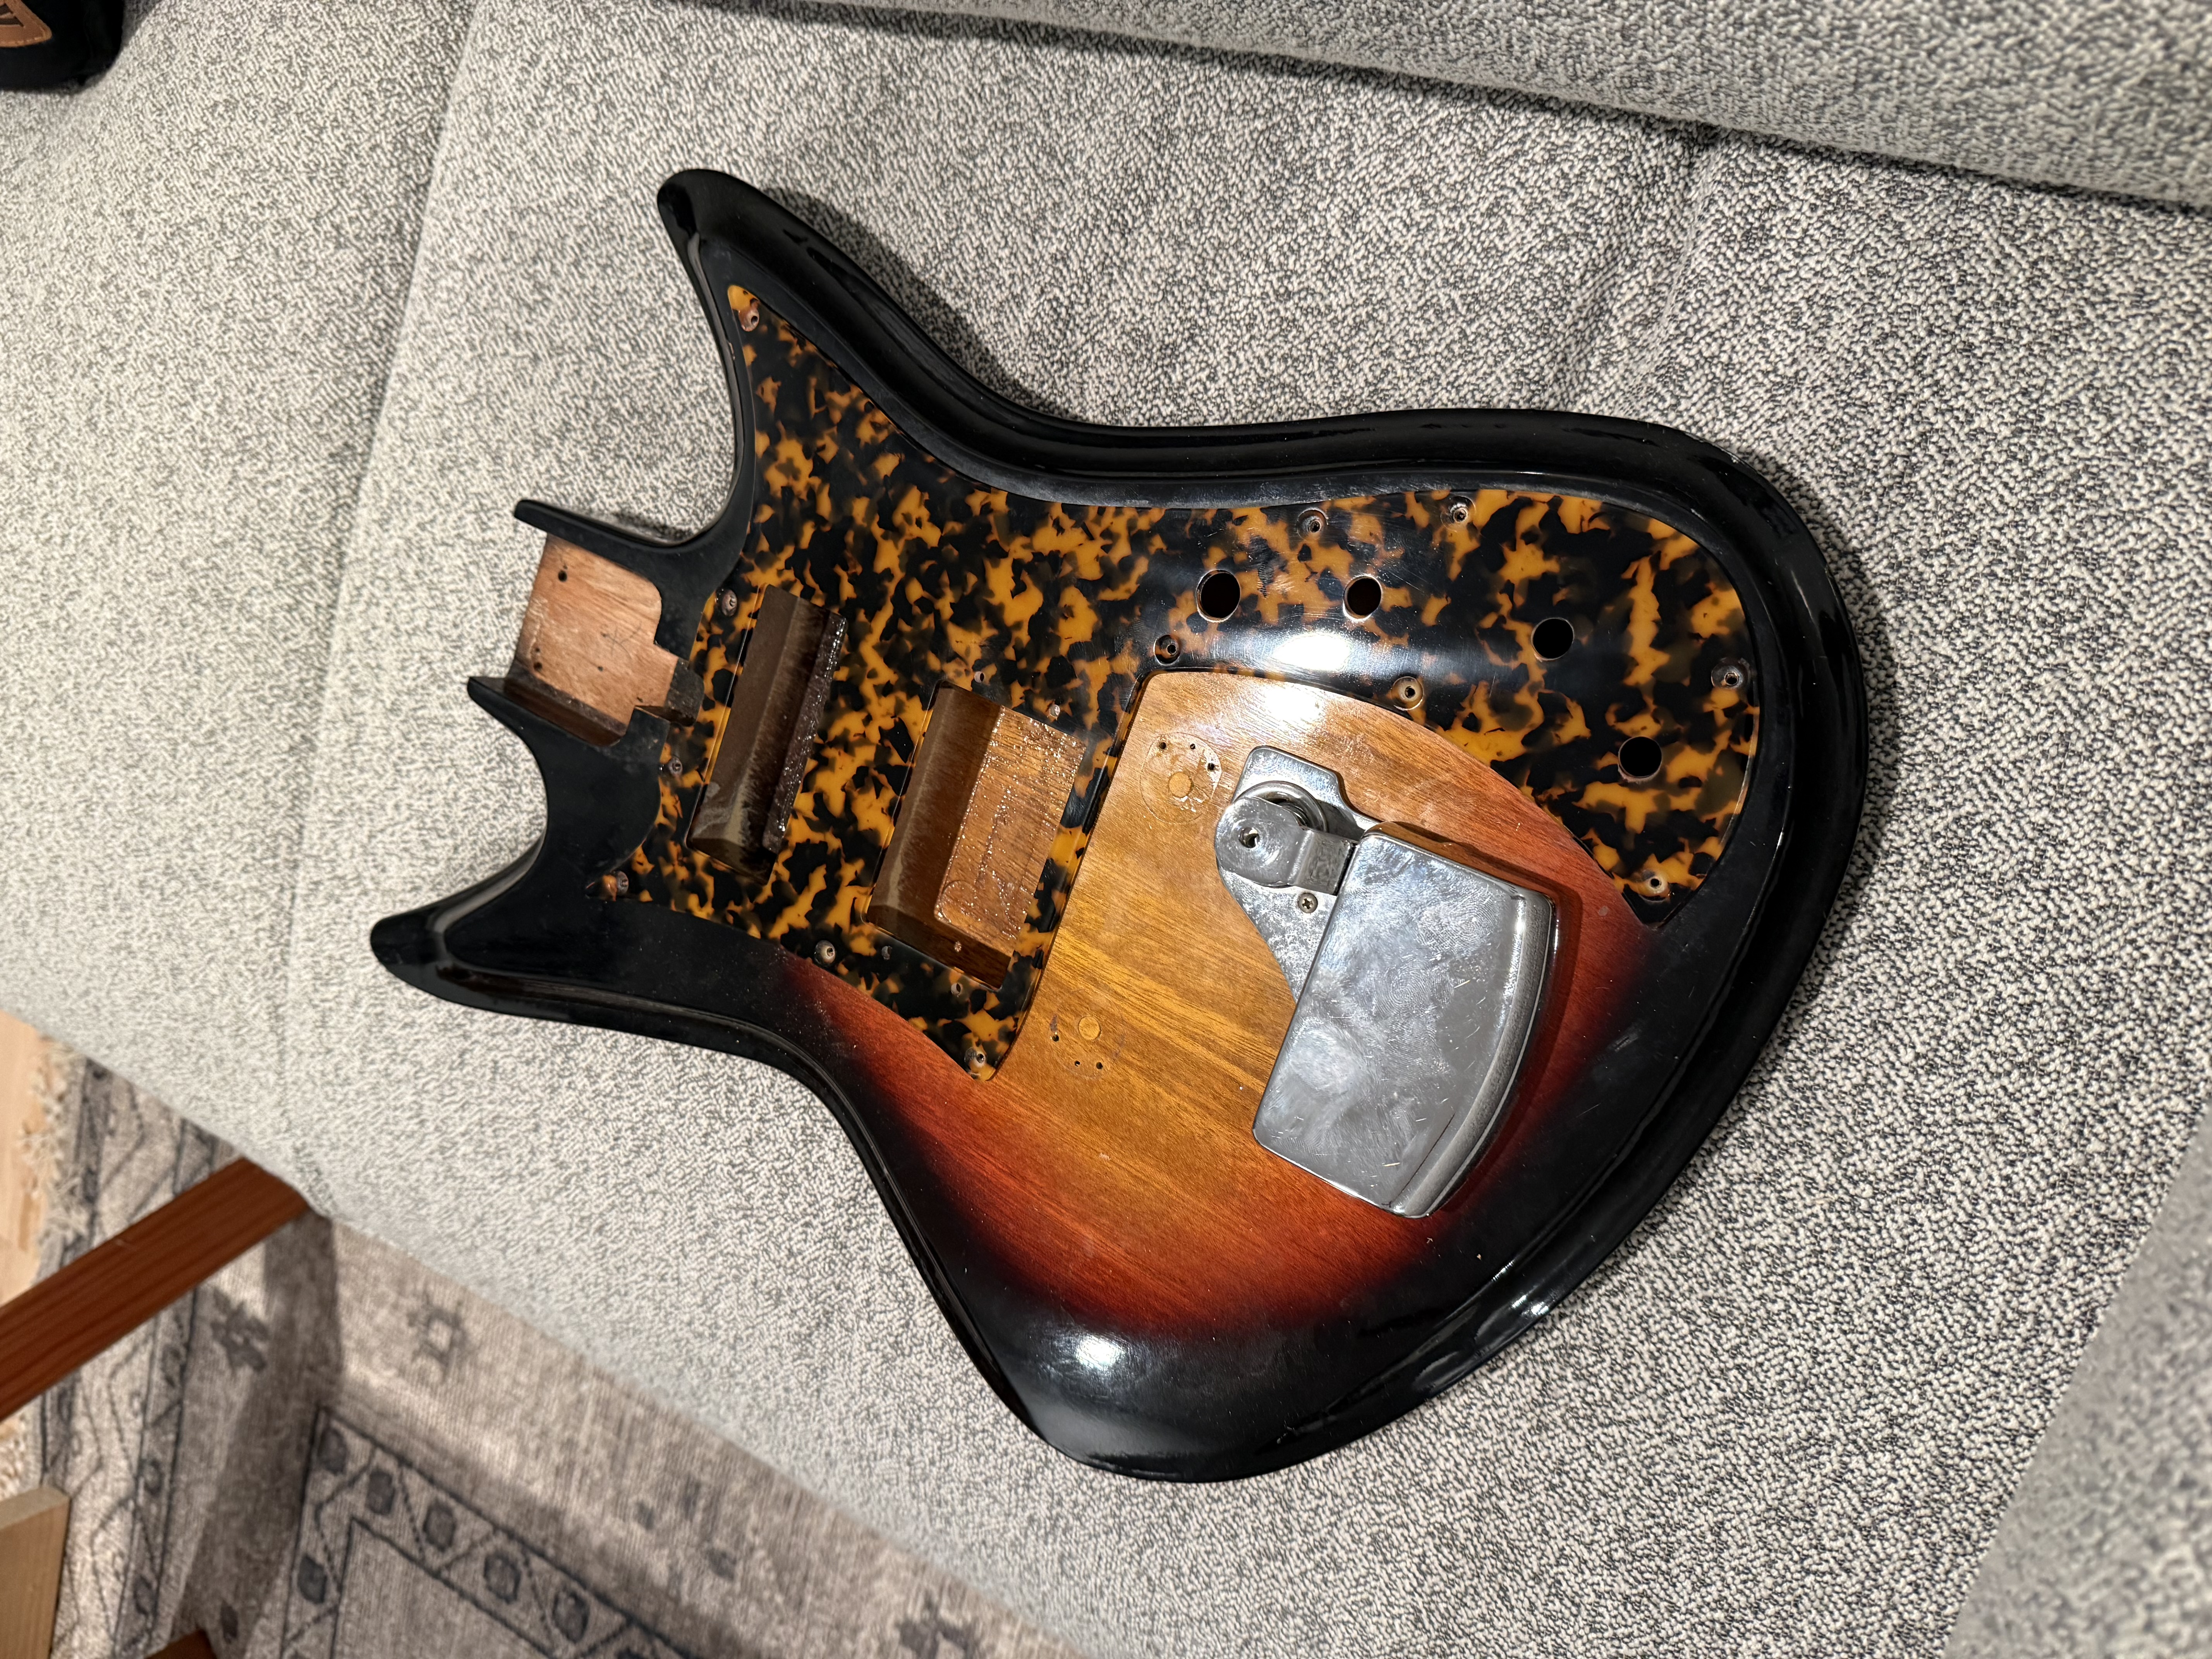
As mentioned earlier, the original bridges on these leave a lot to be desired (intonation and string height adjustment). Last step before putting it all back together is to plug the original bridge holes and install this sweet bridge from High Spirit guitars. Here’s the original bridge, the plugged post holes, and a shot with the new bridge in place – I also relocated the bridge slightly further back because Cody uses this guitar in open C with heavy strings.
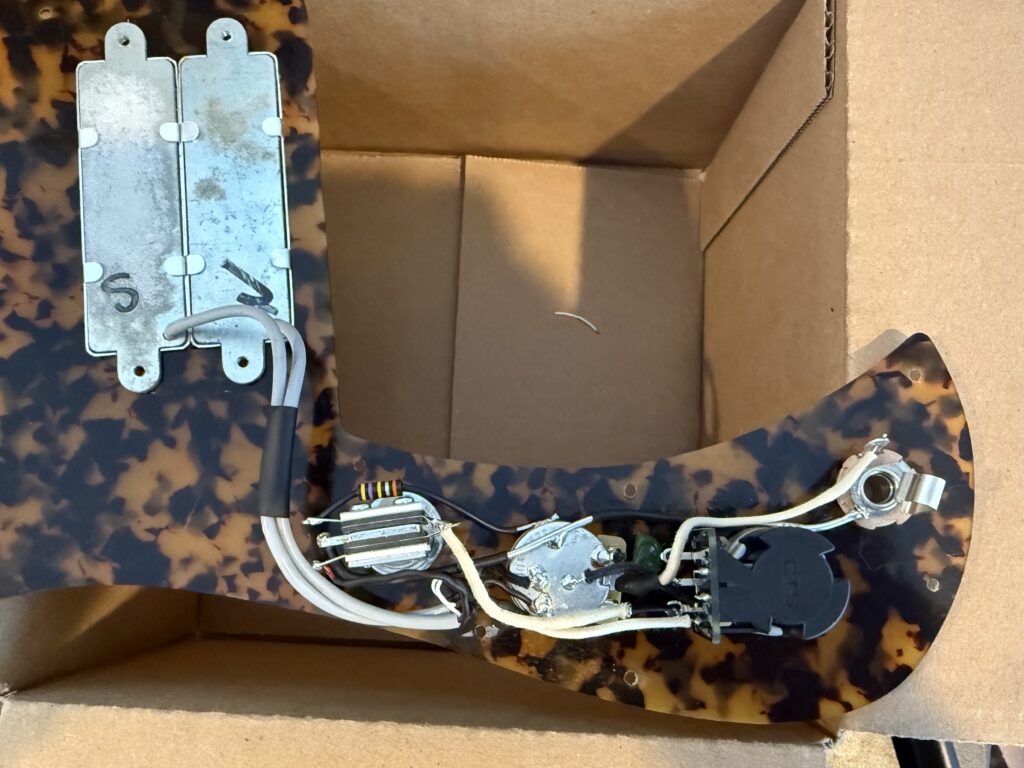
The electronics are simplified from the original on/off switches for each pickup and some kind of rhythm circuit. Volume, Tone, a 3 way toggle, and a push pull to switch between single coil and humbucker mode on the bridge. There is a 470k resistor on the neck position to bring the pot values down from 500k to 250k when the neck is selected. The tone cap is vintage Teisco (I believe it was original but can’t remember for sure). Aside from that everything is brand new CTS and Switchcraft stuff, locked down with heavy gauge bus bar to keep things from moving around.
With the electronics and bridge squared away, I made a bone nut and a logo for the headstock. The original metal Teisco badge was long gone, so I cut an L from gold aluminum stock and used pickguard scrap to make a background for it:
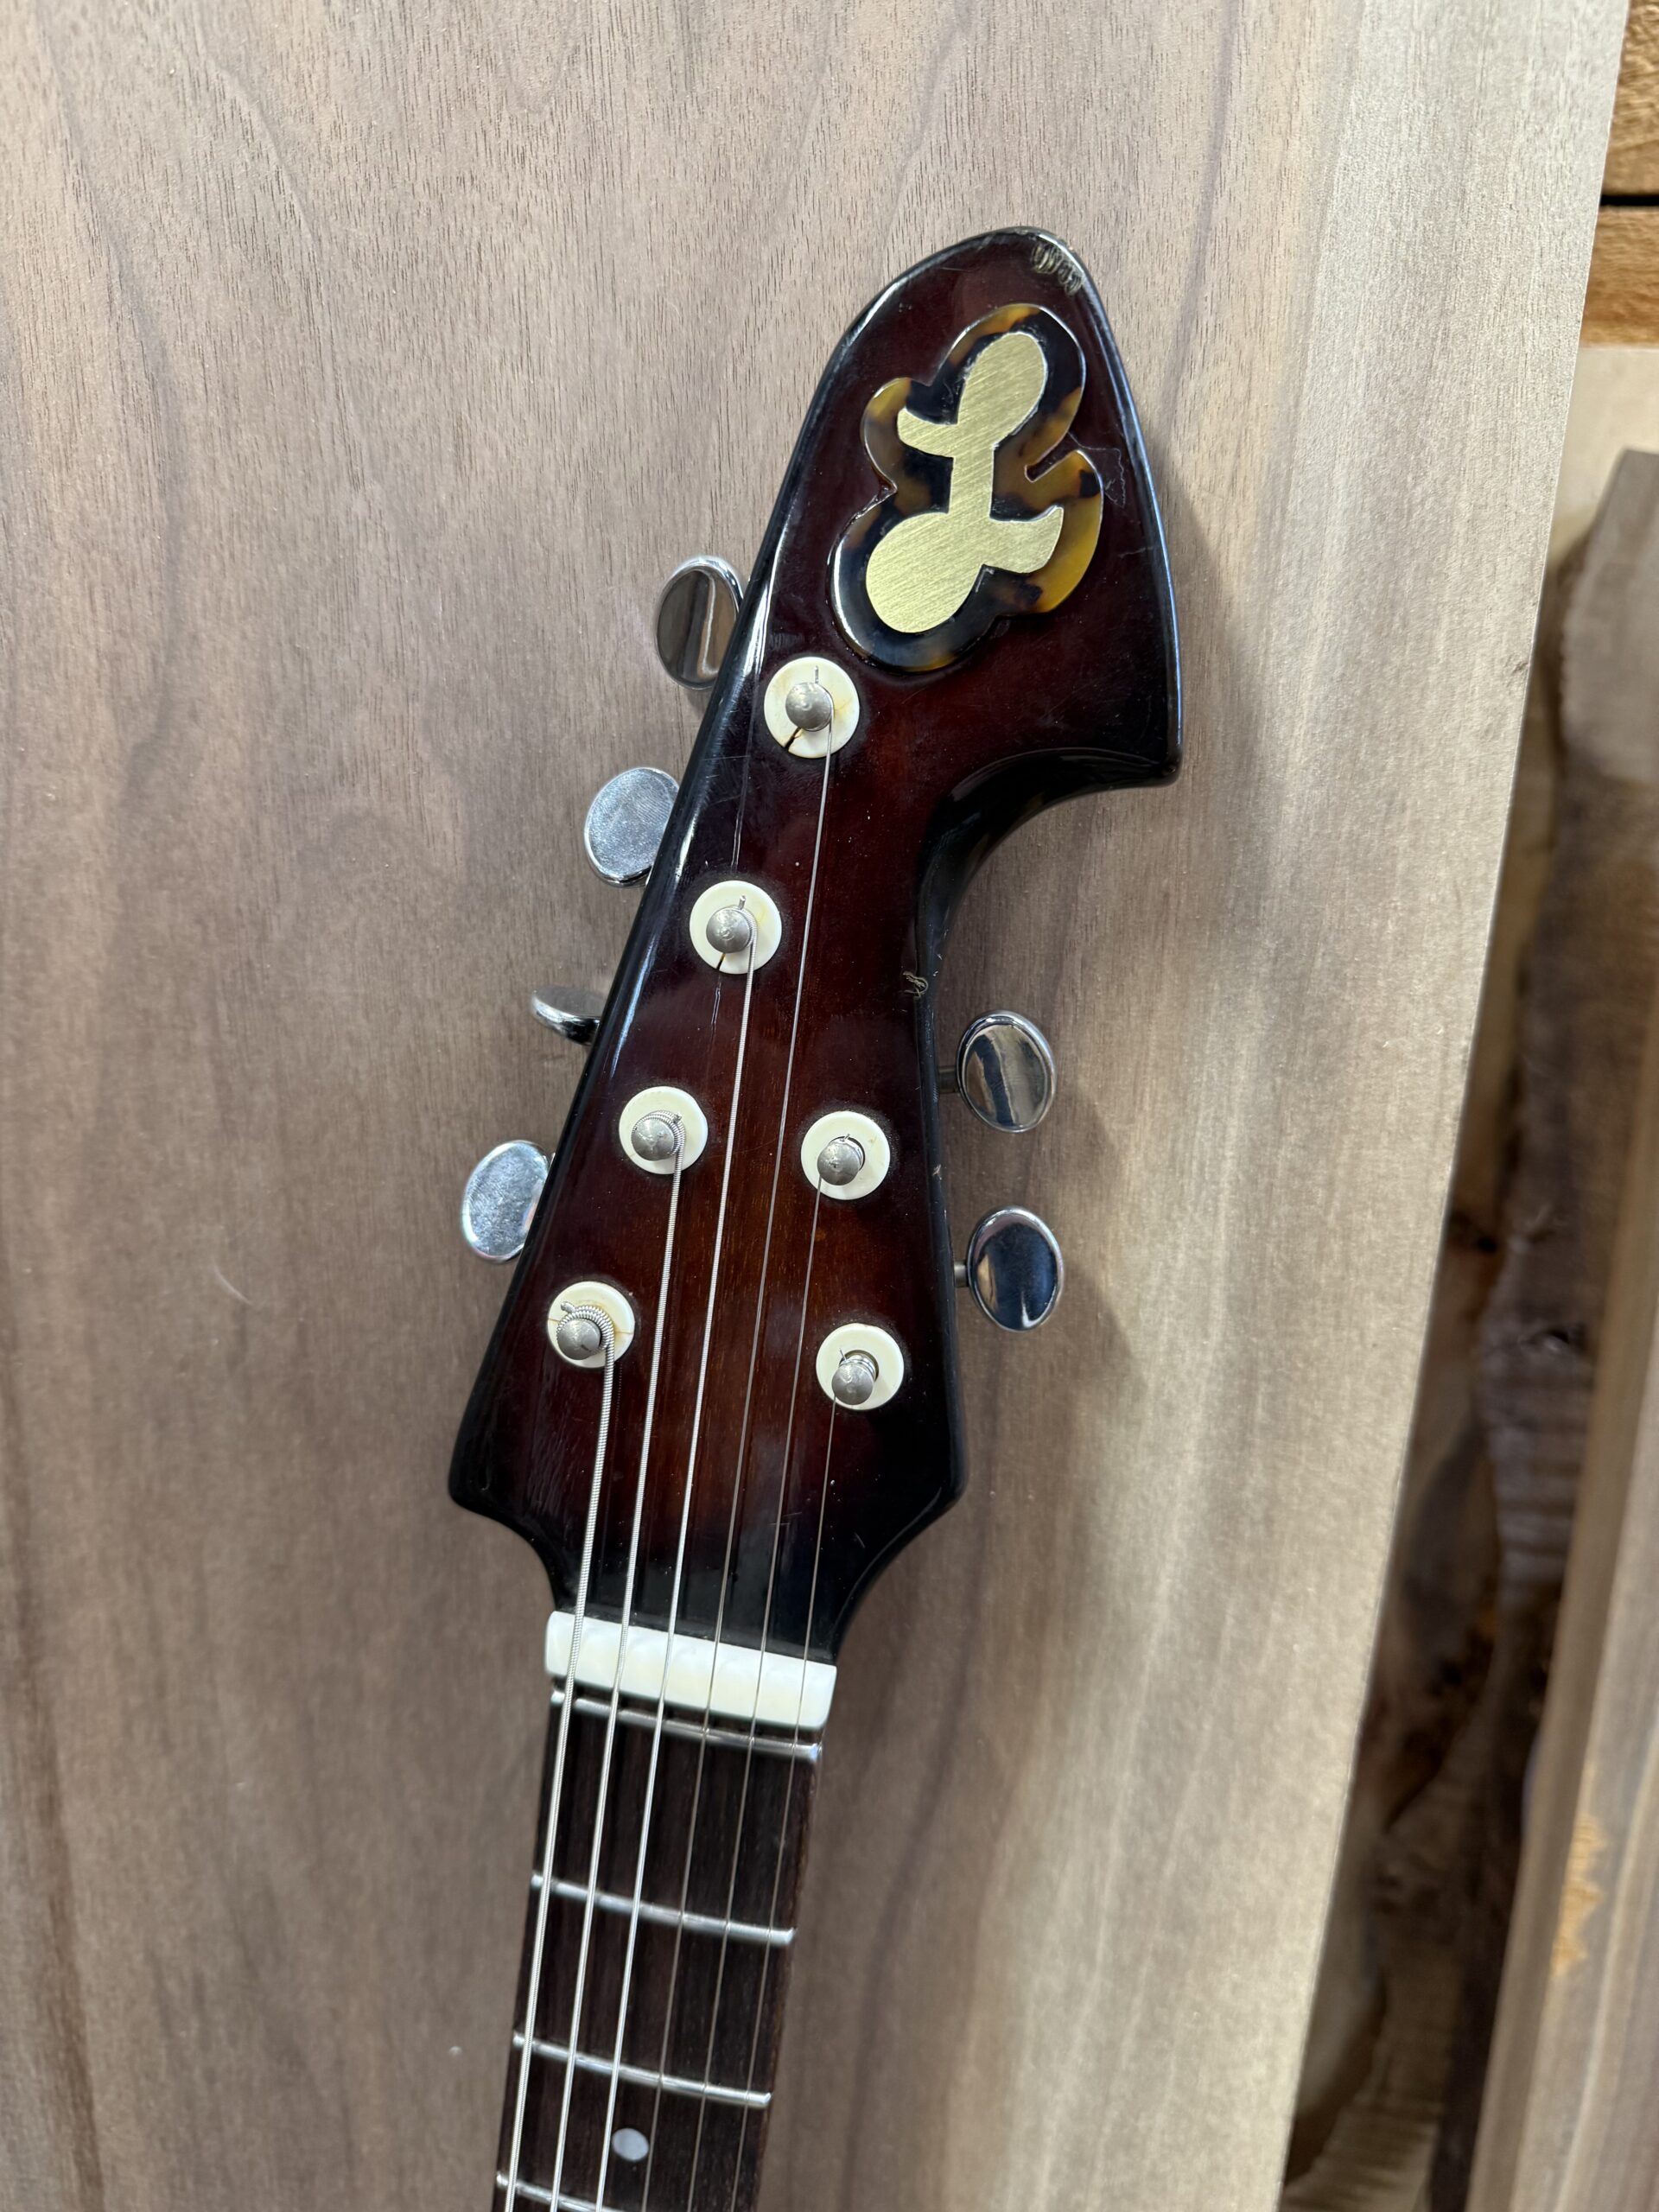
It came out reallllllly nice! The two square pole pickups running as a humbucker in the bridge sound amazing, so powerful and clear. Since handing off to Cody earlier in the year, this guitar has been toured all over the US and Europe, and even been on TV! More on that in a future post, but here are some finished shots to wrap up:
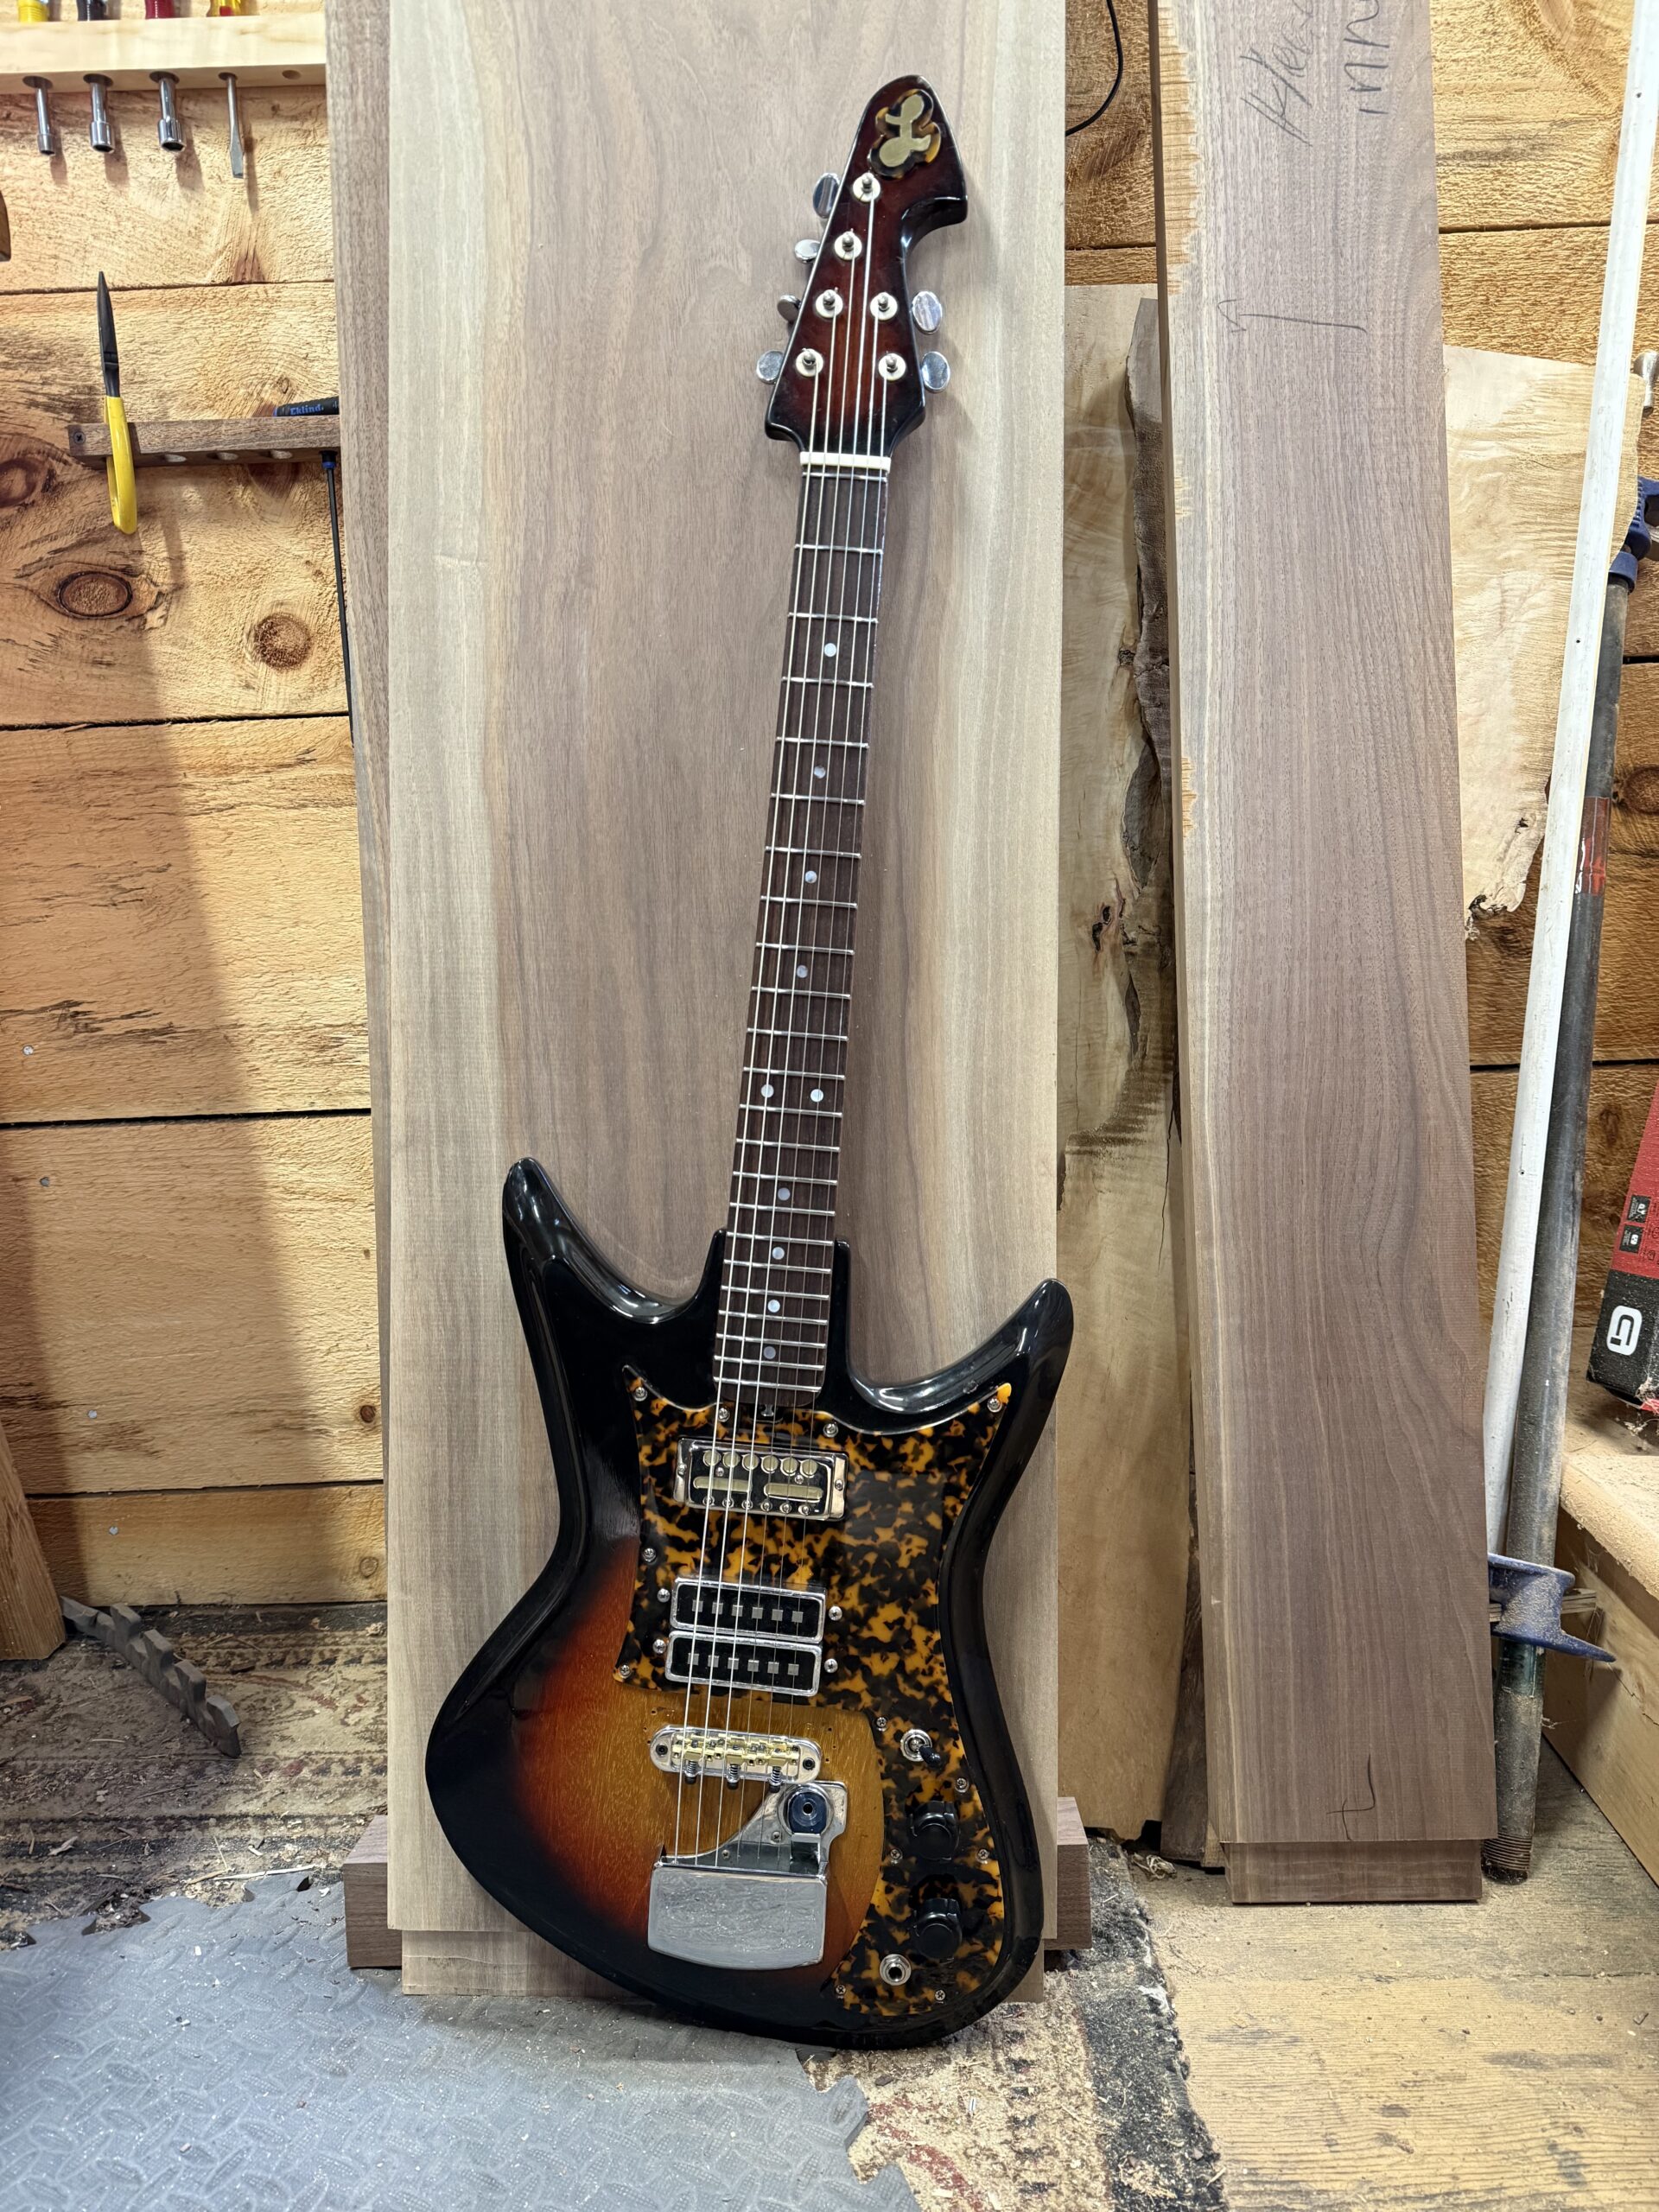
Thanks for checking it out!
-Nate
This Post Has 0 Comments